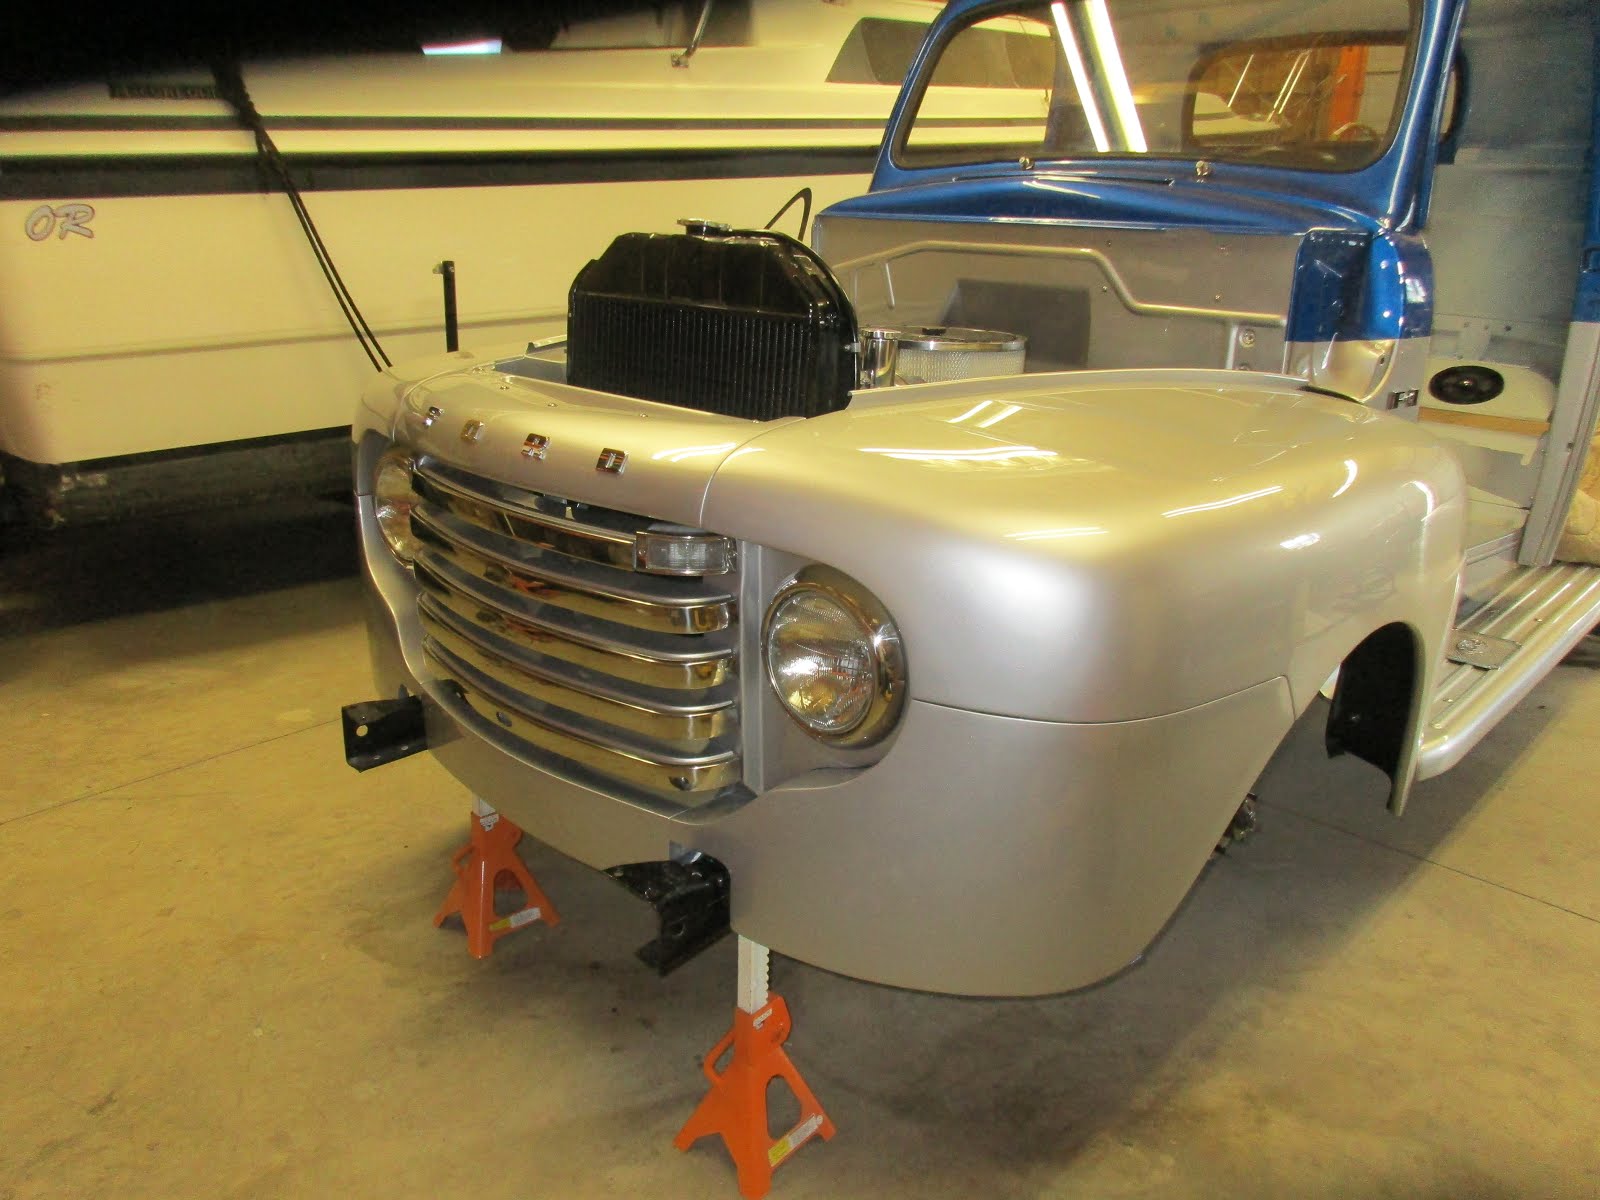
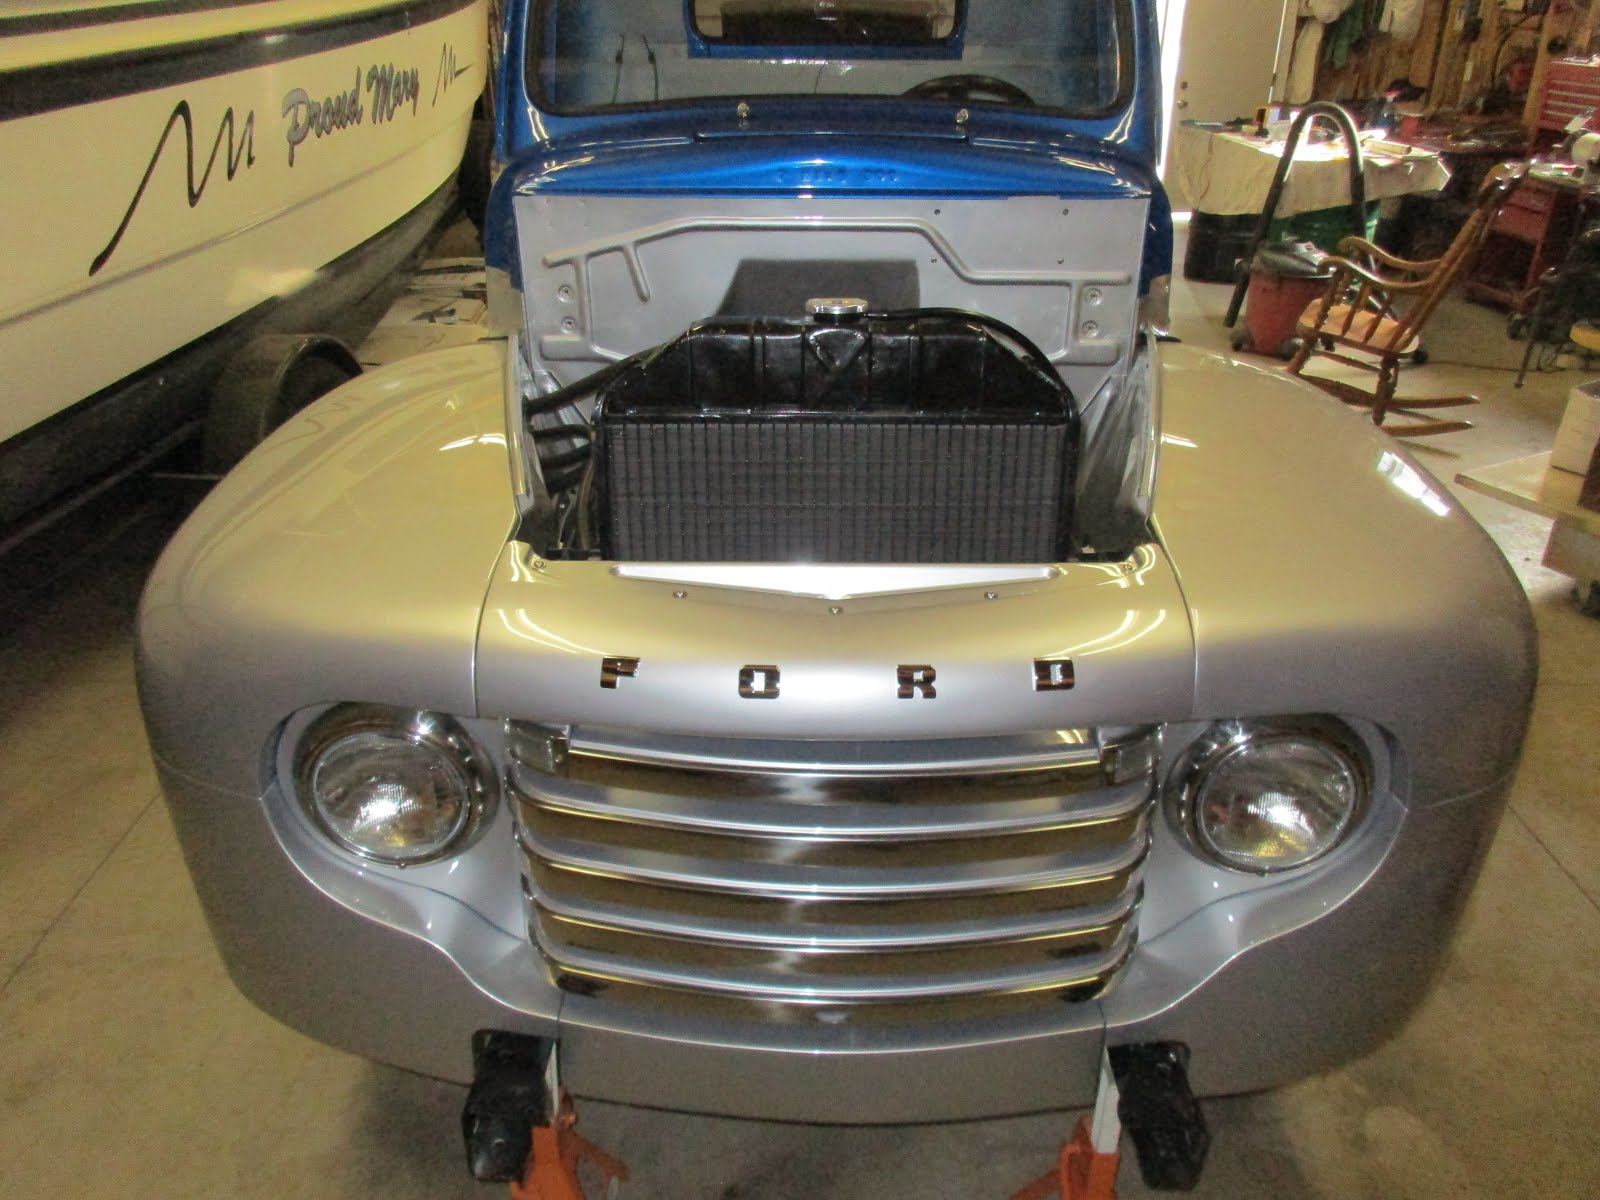
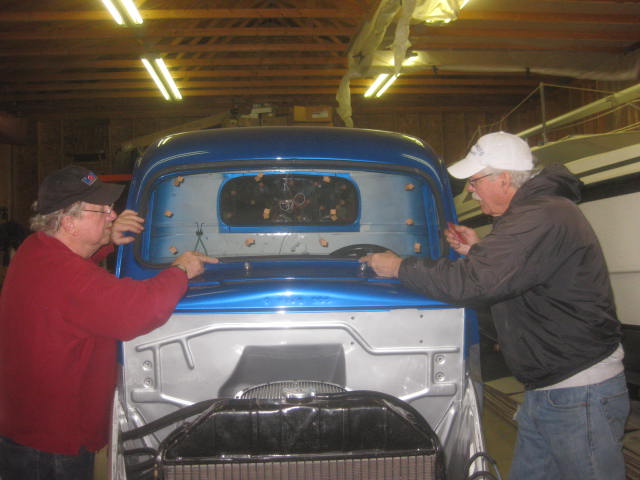
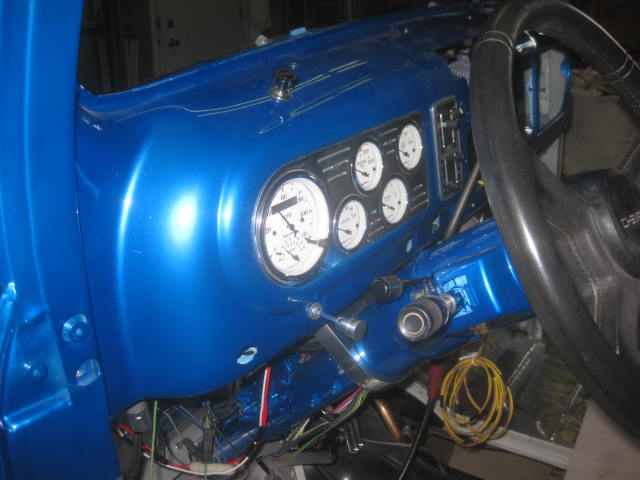
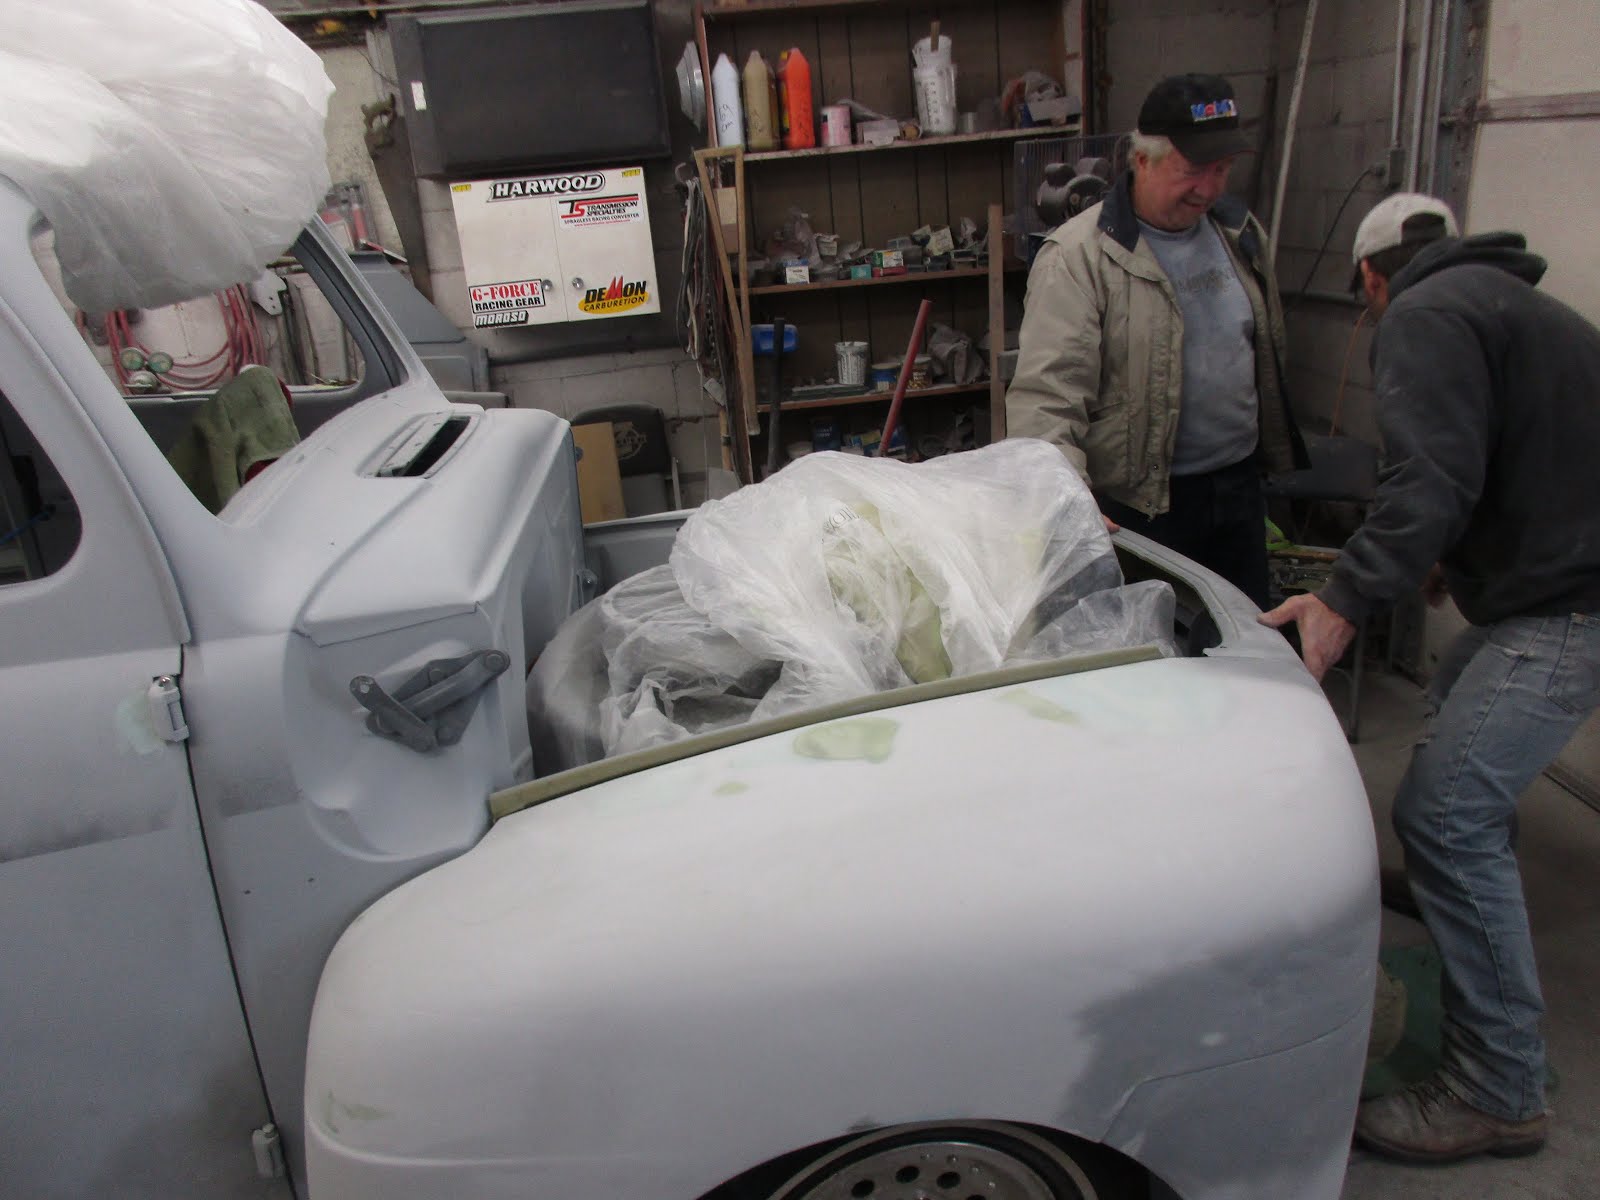
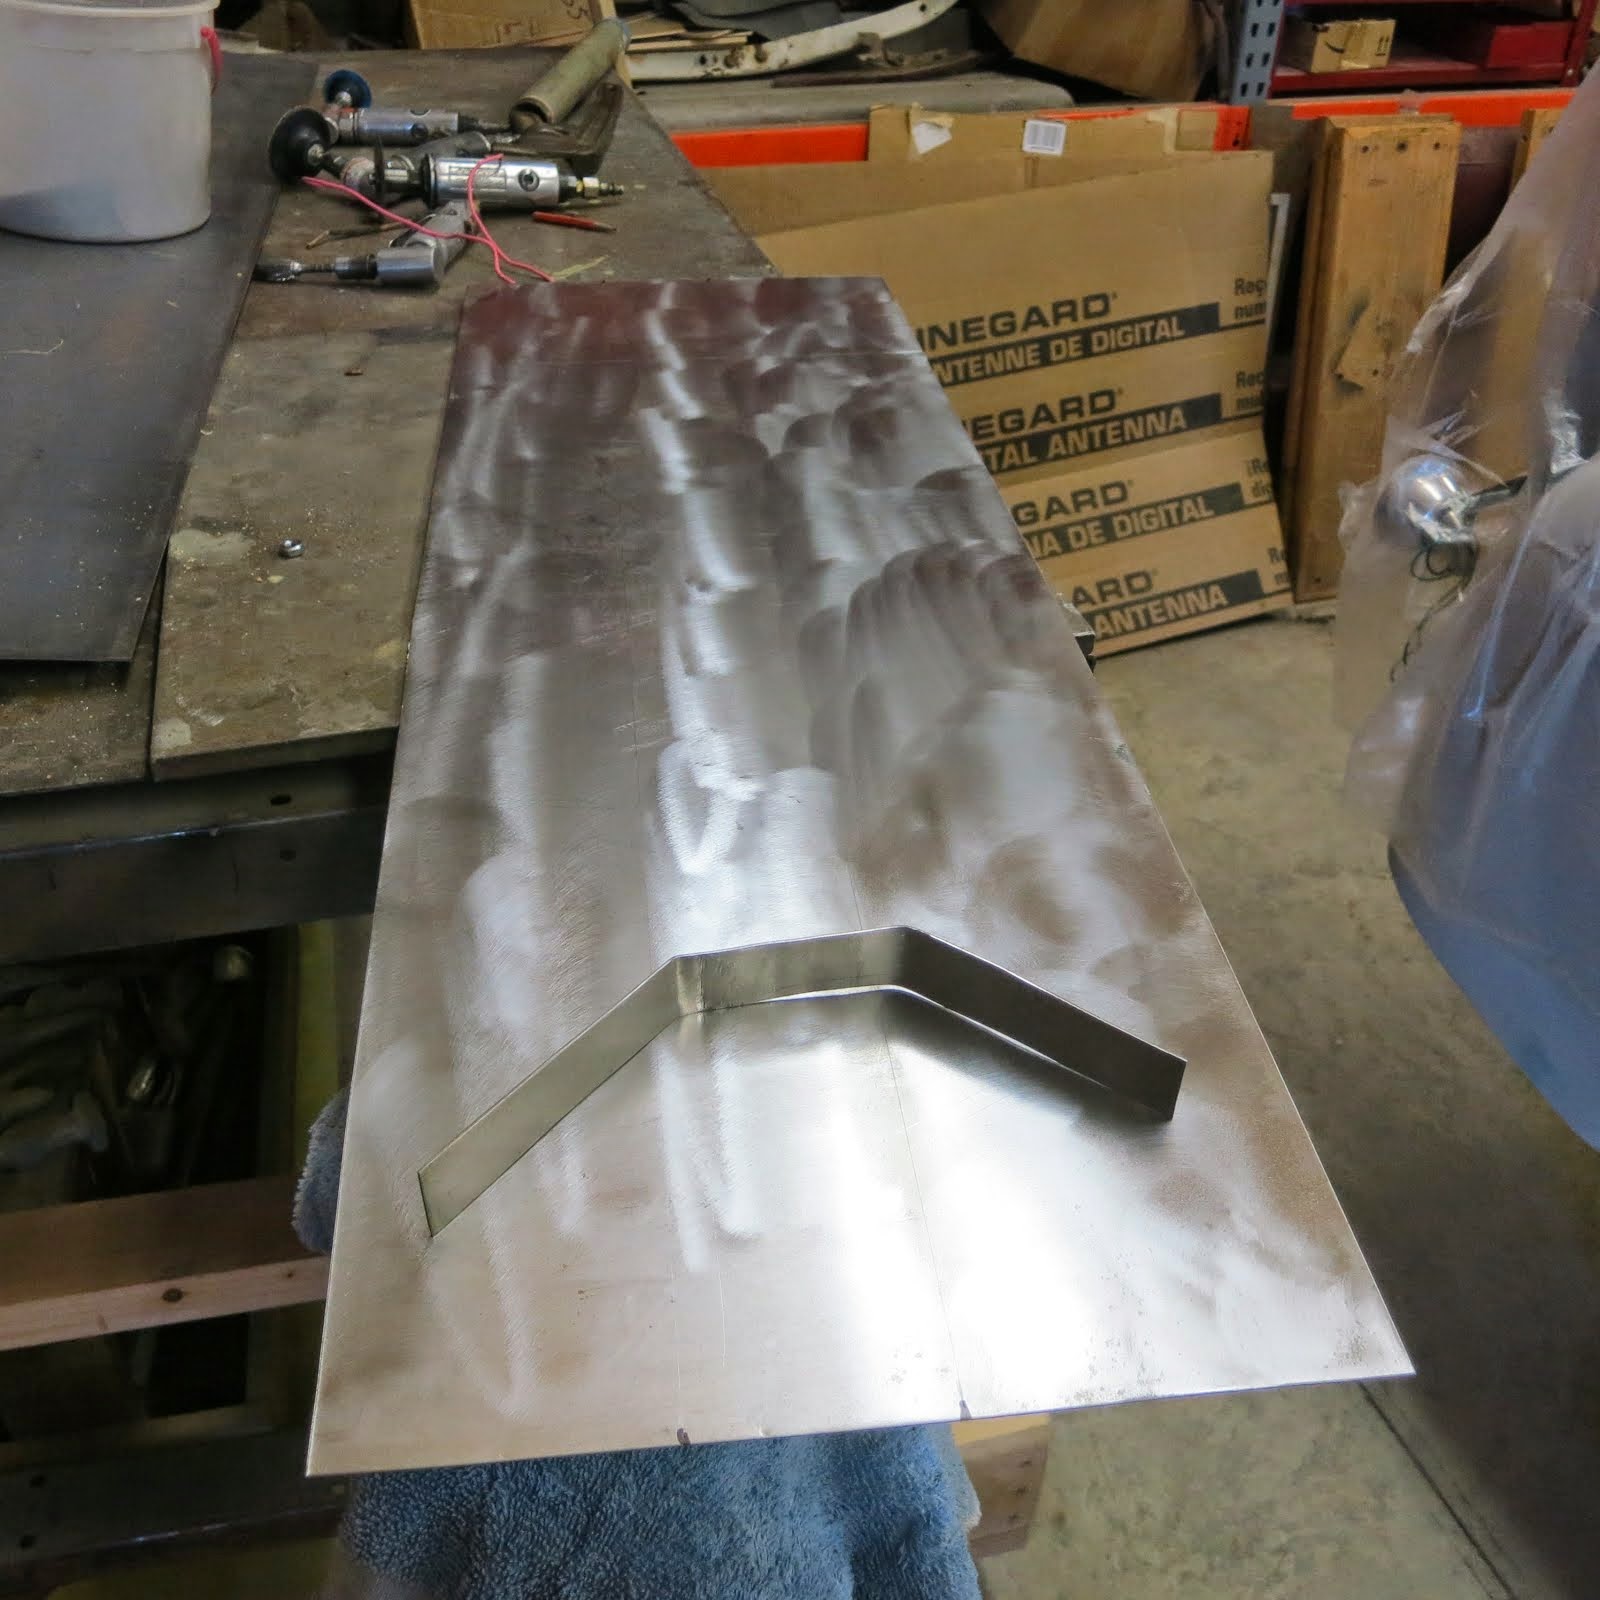
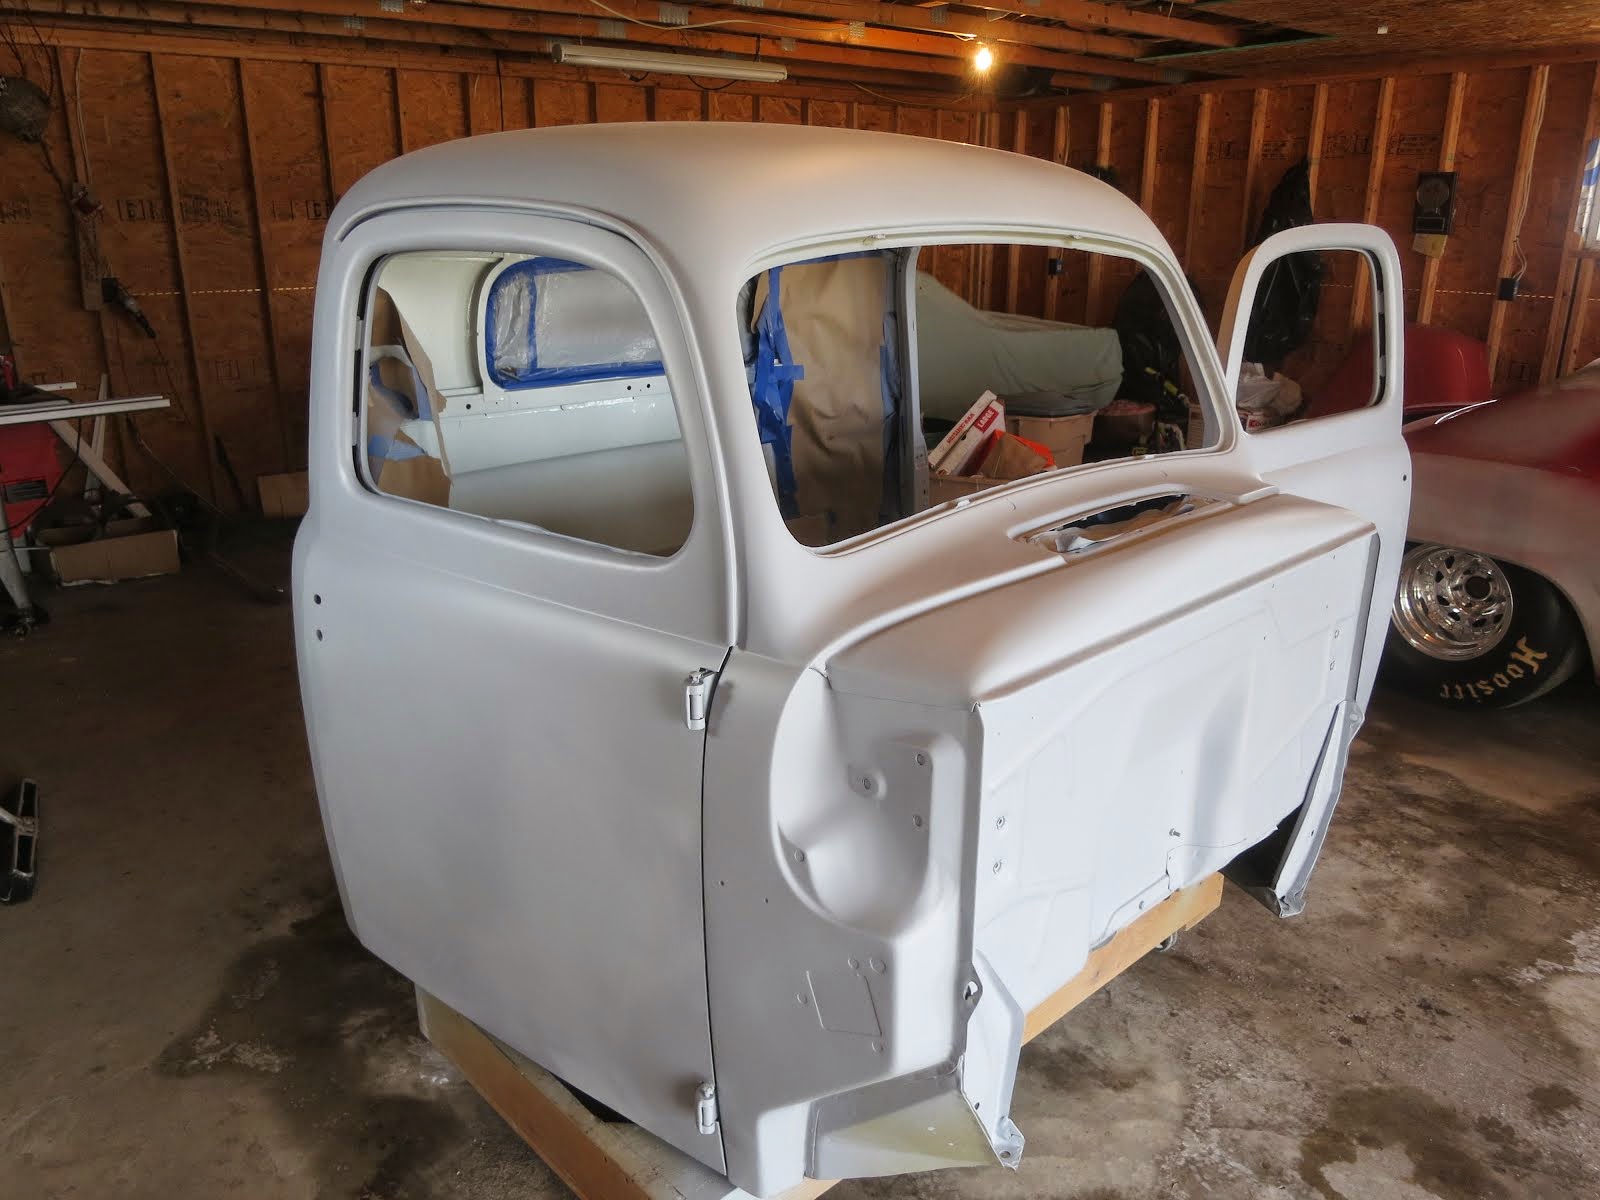
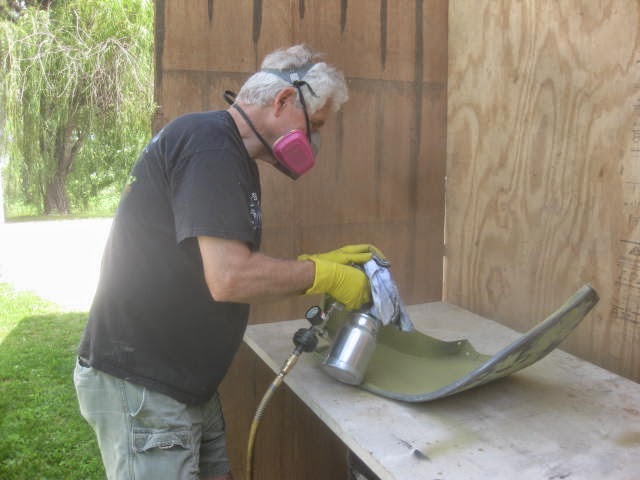
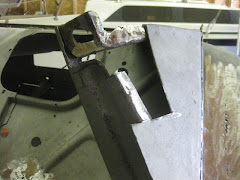
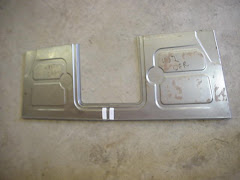
Got the last three parts to the puzzle back from Jeff the painter on Monday. He finished up the inner door panels and reworked and repainted the cowl vent... The cowl vent was stuck shut. (I didn't realize it was paint that was causing it to stick shut.) Soooo, I did the old pry thing on it and bent the corner of it. It was also catching on the rear of the hood when the hood was raised. Jeff used a hammer to bend the front lip back about 1/8th of an inch and straightened out the bent part. He then repainted it and buffed it out. The gasket for it is keeping it raised a little bit and I may have to do a little Mc Gyver on it later.
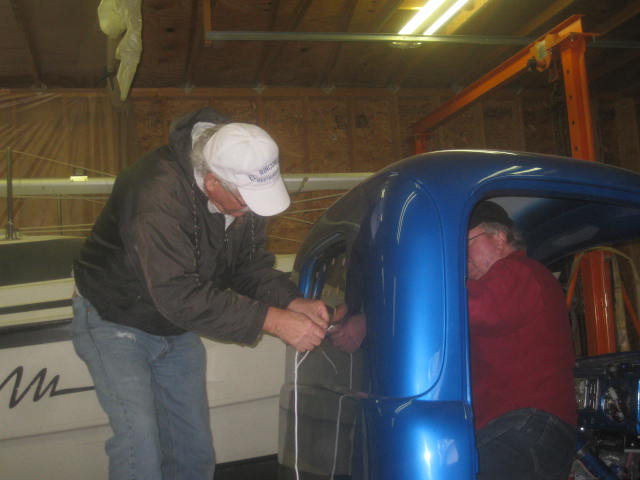
Meanwhile I got out the side windows and started installing the guides in the doors. I found out I had only ordered one guide and had to call Quinn at Yogi's for a second one. It was here the next day. (Great place with great folks, plus Quinn is my son-in-law. That always helps.) After installing the guides, I took my pattern and was trying to make sure the glass would fit. Well,,,, I had forgotten to account for the space the guides took up in the channels and had to make the glass smaller. I call Barngrover glass in Burlington where I had the glass cut and told them of MY mistake. Mike Conners did a great fix for me and didn't even charge me for the fix. Mike said since I had it cut there that there would be no charge. That's customer service, Thank you very much.
I installed the glass and both seem to roll up and down great. Also while this was happening, I put some Peel and Seal (Sound deadener) inside the doors and inside the inner door panels. Upholstery next, but don't know when that will be.
Now to put some mileage on it.
There is a cruise night tomorrow night which will hopefully be it's first outing. Also it's predicted 80% chance of rain tomorrow. I just have to laugh as I write this. Six years in the making and now it's predicted to rain. Throw your head back and howl. I have a pretty good life.
Thursday, September 15, 2016
Thursday, September 8, 2016
Out of the paint shop and rollin on the road.
Picked up the F1 today. Jeff had finished everything except the top of the cowl Vent and buffing the inside door panels. Looks great. Jeff did a great job. I am very pleased. Still have to put the side windows in and then the upholstery.. I have to take it back for the final alignment check next Tuesday.
There has been a great number of people that have helped me along the way. You know who you are. I can't thank you all enough.
I'll see you on the road.
Norm
There has been a great number of people that have helped me along the way. You know who you are. I can't thank you all enough.
I'll see you on the road.
Norm
Wednesday, August 24, 2016
Alignment done
Took the truck up to Burlington to Webb's alignment today. This guy is amazing. He is 82 years old and still does two alignments a day 4 days a week. His wife Karen is a sweetheart. She does all the appointments and collects the money. She gave me a history lesson on the Burlington area. Next Monday they will have been married 57 years. These are people you would like to have as a neighbor.
Anyway, Webb took a little over 2 hours to get my frontend straight. He told me I didn't have the ball joints tightened down enough, (which he fixed). I had the castor and camber close, but the toe in was way out of bounds. All of which he fixed. He wants me to drive it for about a hundred miles to let it all settle in then he will check it again.. I have to say, as I drove it home, I was simply amazed. Rides great, steers great. Think I'm gonna like it.
I also got the brake return spring installed this week and wired up the license plate light.
Friday I will drive it to Warsaw, IL to Jeff the painters house, (That's about 42 miles from my house) and we will install the hood and do the final fit for it. Jeff will keep the truck and touch up a few things and do the final buff on it. Should be done by Labor day. The rest of the upholstery sometime later this year. WOW, what a ride the last 6 years have been. Had a LOT of good help too.
Wednesday, August 17, 2016
Busy, busy, busy
Got the doors back and I like the cut line as it is now. Better than the swoosh I was gonna do before. Got the handles and rollers installed. No windows yet. Jeff painted the underside of the hood silver and brought it up for the final cut line fit. Had trouble with raising and lowering the hood. Found out the springs and hinges were worn pretty bad. got some new ones ordered and will have to paint them when they arrive. should show up tomorrow afternoon. Jeff is painting the top of the hood today. It needs to rest for a few days then he can buff it out.
I was scheduled to take the truck in to have the front end aligned today but as I was driving to Burlington, got a phone call from the guy that does the alignment saying there had been a death in the family and we had to reschedule next to week. Also it was raining.. I guess you just have to say "of course". Drove back home and wiped it all down.
I have some things to finish while I'm waiting for that. Need to put a return spring on the brake pedal. Should have done that long ago. Also have to wire the third tail lights. Also need some brake adjusting. Had a squealing fan belt that seems to have cured itself ?????
More to do, getting close though.
Friday, July 29, 2016
Doors on again
Had a nice cruise with my son Pete and his family this last week. Nancy set up another good one. Went to Honduras, Belize and Mexico. I think my two granddaughters had the most fun. At least, they ate the most ice cream.
Got home and had a nice refund check from Yogi's for the seat belts. Thanks to Quinn.
Today Jeff brought up the doors with the silver painted. We hung the doors again and did a final decision on the cut line. (I changed it again). I like the more subtle look of the drop and curve where the door handle goes now. Jeff will now paint the blue and then do the clear coat today. He will let the doors rest for a day or two and then buff them out. Should be able to do a final set on the truck next week. I then have to put all the "guts" and windows back in the doors. I will then take the truck for a front end alignment and then take it on down to Jeff's place and set the hood for final fit and paint. After the hood is done he will do a finish buff and clean up. Then it's SHOW TIME!
WHEW!
Tuesday, July 12, 2016
Doors and Bumpers
After looking at the black seat belts I bought before I decided on the truck colors, I didn't like the way they looked. Called Quinn at Yogi's and ordered a new grey set. Sent the black ones back for possible money return on their inspection. (I bought them 3 years ago.)
Meanwhile, Jeff brought up the doors and we did a final fit and marking of the cut line for the paint. He also brought back the rear roll pan and the front frame rail/bumper covers.
Jeff will paint the silver color on the doors first, then we both will be gone for a couple of weeks. He will then bring back the doors for a final, final marking of the paint cut line and paint the blue part. Then the last piece, the hood.
Looks like "Daddies Little Fatty" will finally make it out of the garage sometime in August.
Cross your fingers. Will have to get the front end aligned then. Almost road time.
Saturday, July 9, 2016
Tail lights wired
Finished up wiring the tail lights this morning. Installed the new battery. Then I got my best helper (Nancy) to check them out for me. Wonders will never cease. All lights worked. Tail, stop and turn signals all lit up WHOOT, WHOOT.
Next I will install the seat belts. Tail gate and small parts should be here Monday. Then the doors.
Next I will install the seat belts. Tail gate and small parts should be here Monday. Then the doors.
Thursday, July 7, 2016
Bed, Fenders and Wheels
My friend Bob came down and we took the bolts holding the bed out and put spacers in so the fuel door would close. Was quite a process as the bolts and nuts were hard to get too. We also finished up putting the welting between the fenders and the bed. That was a hard project and glad to get it done. Couldn't have done it myself.
This morning I put the braces on the inside back of the back fenders. This realy stiffens them up. Then I adjusted the rear brakes. Next came the rear tires and wheels. After that I was able to drop the rear end off the jack stands , maybe for the last time.
Next I have to finish up the wiring on the rear tail lights. A job for tomorrow, now I'm going to go play some golf.
Tuesday, July 5, 2016
Rear Fenders on Welting to Adjust
Got both back fenders on and started adjusting the welting so it fits snug and straight. Got all the bolts in and had to get my best helper Nancy to help me. Before we attacked the fender bolts and welting, I had her help me put in four main hold down bolts for the bed. The two front ones went easy. The back two set right up close the fuel tank and it was hard getting the nuts started. Finally got them tightened down and Nancy noticed my fuel door in the bed would not close. After some head scratching, found out when I had pulled the bolts down it pulled the bed down just enough that the fuel door won't close. Now we have to take those two hard bolts back out and put some spacers in to raise the bed a little. We quit to head to Monticello for the Forth of July celebration with the kids. Had much fun. Now back to work.
Monday, June 27, 2016
New Wheels and tires on the front
Got the rear drums back from Lynn Perry. Got them painted and mounted them on the rear axles. Everything is straight this time. Put a pre cleaning wax on the new wheels and then a final wax for protection. Mounted the front wheels on the front axles and was trying to put the center caps on. All the small screws would only go in a couple of threads and then would tighten up. I ended up calling my son-in-law Quinn (who has the same wheels) and asked him if he had any trouble with his. He had his applied at a garage and wasn't aware of any problems. He had me call the distributor for advice. The distributor said there may be some polishing liquid still in the holes. There are 5 screw holes in each of the 4 rims and all looked good with a flash light. He suggested I use a 8-32 tap and tap all the holes out. This I did and all screws went in fine. This just shows what quality control they have. Anyway, I do like the rims and the tires. I will put the rear ones on after I put the back fenders on.
Got the welting from Bob Peterson today so will start the process of putting the rear fenders on tomorrow. I will try NOT to scratch them.
Got the welting from Bob Peterson today so will start the process of putting the rear fenders on tomorrow. I will try NOT to scratch them.
Friday, June 24, 2016
New Wheels and Tires Mounted
Got the newly mounted tires and wheels back today. Brandon at Humburg Automotive in Fort Madison did a great job mounting and balancing the tires. They are an official Tirerack mounting and balancing garage. He applied the lead weights to the back of the rims and painted them black to blend in. He also put some chrome covers on the valve stems so they would look nicer. Great place, nice people. They go the extra mile.
I took the new and old brake drums to Lynn Perry and he first chucked up the old ones in a lathe. They were at least 1/4 inch out of round. He had never seen anything like it. I then had him chuck up the new ones to make sure they were true. They were. He will drill them for a ford pattern this weekend. should get them back by next week..
Next, I need the welting to put on the back fenders. Then I can put the wheels and tires on.
Tuesday, June 21, 2016
A Little Snag
Got most of the bed boards in and tightened down and the rear edge wasn't lining up very well. I was getting hot and tired and almost said that's good enough. My friend Bob came down about that time and said "That's not good enough. Take all the bolts loose and align everything." Well, with his help and guidance, I loosened all the bolts and we got it all straight. Sure glad I listened to him. Sure looks better now.
I was cleaning the dust off the rear brake hubs in preparation for mounting the wheels and tires after the rear fenders were applied, (tires arrived today). As I was cleaning the hubs, I noticed a wobble. I at first thought the axles were bent. (that would be very bad). I finally figured out the center of the hubs were welded in crooked (Chinese stuff). After much research and a couple trips to auto parts stores I found out those same hubs were my only choice. Next alternative would be to go to Disc brakes, which isn't all bad. I elected to buy two new hubs which so far seem to be okay. Tomorrow I will take them to Lynn Perry to have them drilled for my bolt pattern. I will also have him check the straightness of these. I am glad I caught it now before the truck hits the road. Another lesson learned.
I have some almost new Chinese hubs for sale if anyone is interested. Can be used as woks.
Tires get mounted on the rims this week Man, it's hot. Gonna be 97 tomorrow.
Thursday, June 16, 2016
Bed is back
The painted bed was delivered by Jeff late Monday night. With the help of Jeff's friend Cris and my friend Bob, we set the bed in place. Sure turned out nice. Got it tied down last night and started putting in the floor boards. Also installed the fuel tank access door. Doing early morning and late evening work now as it is baking during the day. Hit 97 degrees yesterday. My little fan couldn't keep me cool, so decided then on the shift change. Hope to have the bed completed this weekend. My upholsterer should have the fender welting done soon so I can then put the rear fenders on. Some small parts and the tailgate should be next. Too hot to paint this week so probably wont get that stuff until next week. Then it's the doors after that. Last will be the hood. Time for a glass of ice water.
Wednesday, May 18, 2016
Bed Final Fit
Jeff showed up like clockwork at 9 AM this morning. He brought a friend (Cris), and I had Bob come down to help set the bed. Set in on the frame and made some decisions on the cut line for the two tone. Also decided to have a friend of Jeff's air brush the FORD emblem blue in the tailgate. Everything fit very nice. Should have it painted and back soon. His plan is to have everything done by the first of July. May or may not make that date but it would be nice if it was all done by then.
Still waiting on Goodyear to produce the "Eagle ll" tires I want. Tirerack says next production should be some time around June 22. We'll see. Still have to get the front end aligned.
Back to the glove box.
Still waiting on Goodyear to produce the "Eagle ll" tires I want. Tirerack says next production should be some time around June 22. We'll see. Still have to get the front end aligned.
Back to the glove box.
Tuesday, May 17, 2016
Piddling away
Been waiting for Jeff my painter to get his corn and soybeans planted so he can get back on the truck.
Meanwhile, I have been piddling around on a few things. Got all the dash components in and I just have to finish the interior of the glove box. I also need to order a spring for the glove box door to hold it closed and a couple of small bumpers for the door to close against. Also got a third tail light that I will mount inside the back window at the bottom of the glass. Made a mount for it yesterday and will have Jeff paint it blue. I bought a dome light from Yogi's that has built in switches . Need to make a mounting box for that. Started to mount the front bumper and found I need some more Stainless Steel bolts and nuts.
Jeff will bring the pickup bed back tomorrow for the final fitting before he paints it. We need to get the cut line between the blue and silver matching with the cab lines. He then takes it back home and does the final paint on it. Should have it back in a week or so. It is already primed and block sanded.
After that it's the last pieces, cab doors and the hood. Getting close.
Tuesday, April 26, 2016
A Few Things
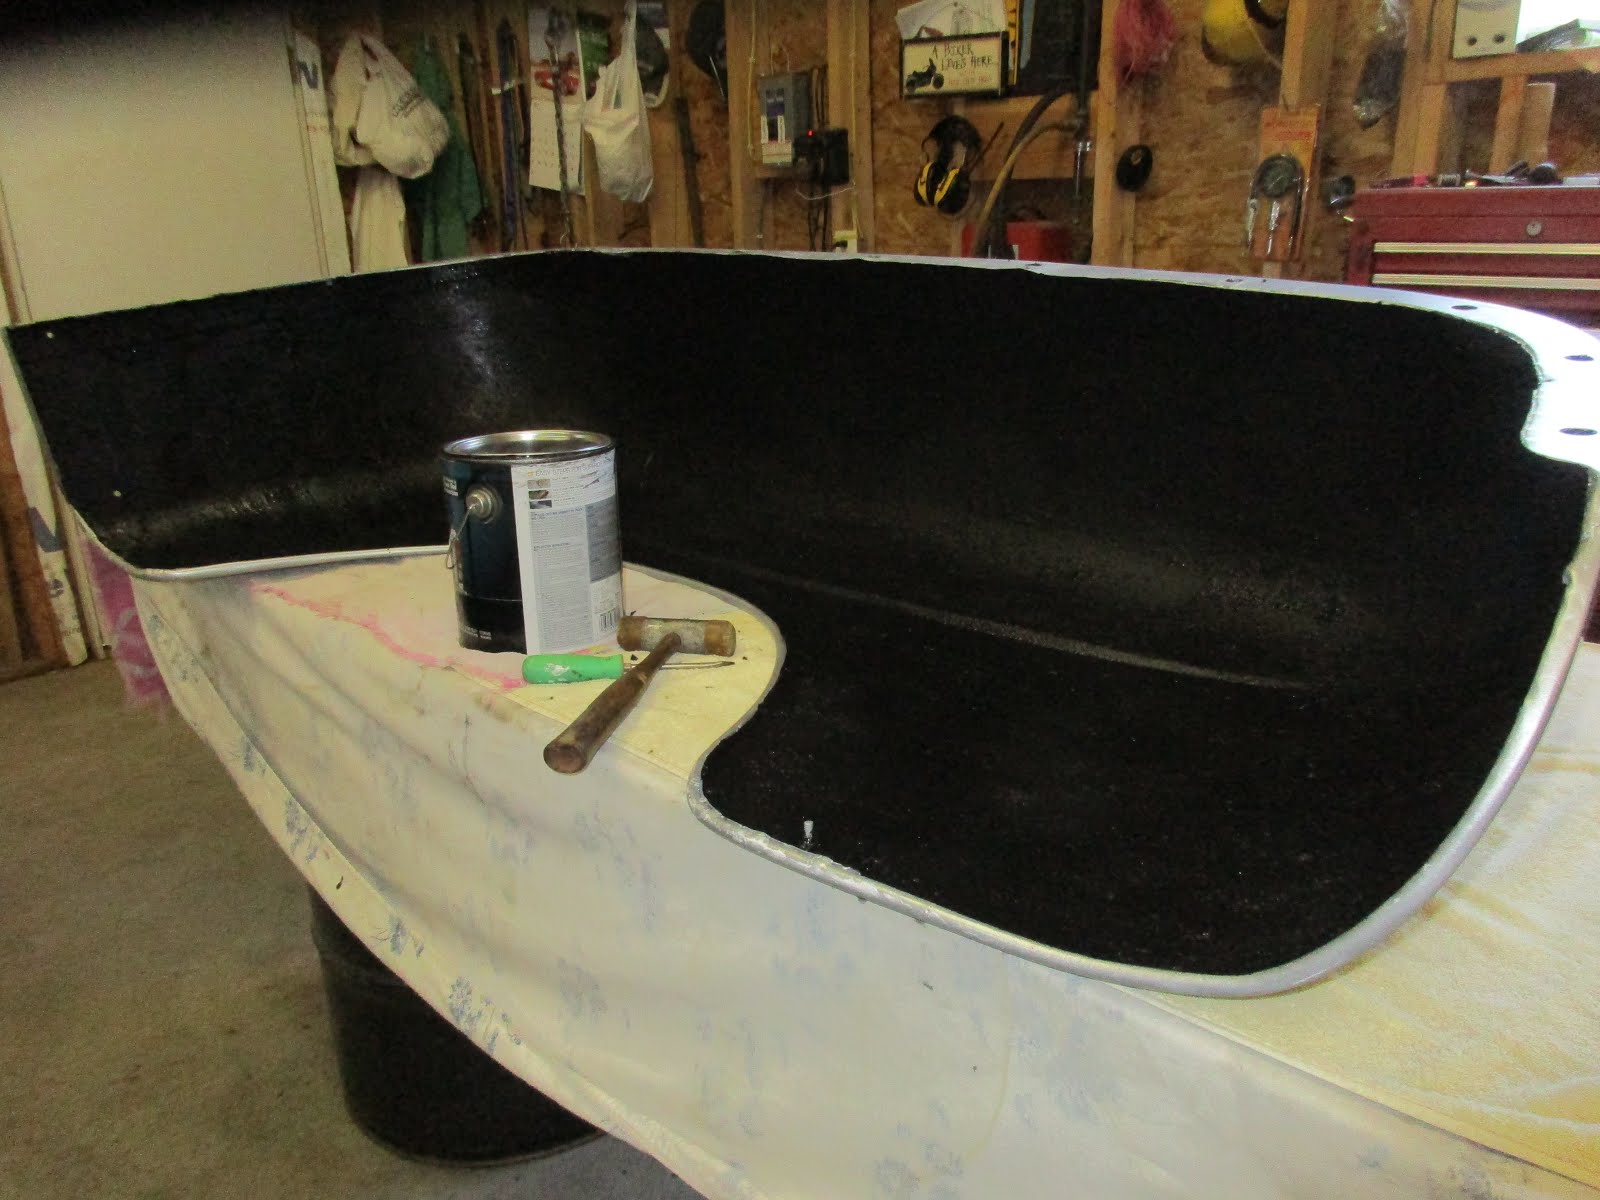
Finished putting four coats of Dupli-Color Bed Liner on the inside of the back fenders. This stuff has small rubber particles suspended in the paint. With these fat fenders you need some kind of protection against rocks being thrown against the underside of the fender and putting a little spider star in the paint on top. This may not be a cure all but should help. A little trick I learned from the "Car Guys". Still haven't figured out how to run the air conditioning duct work yet.
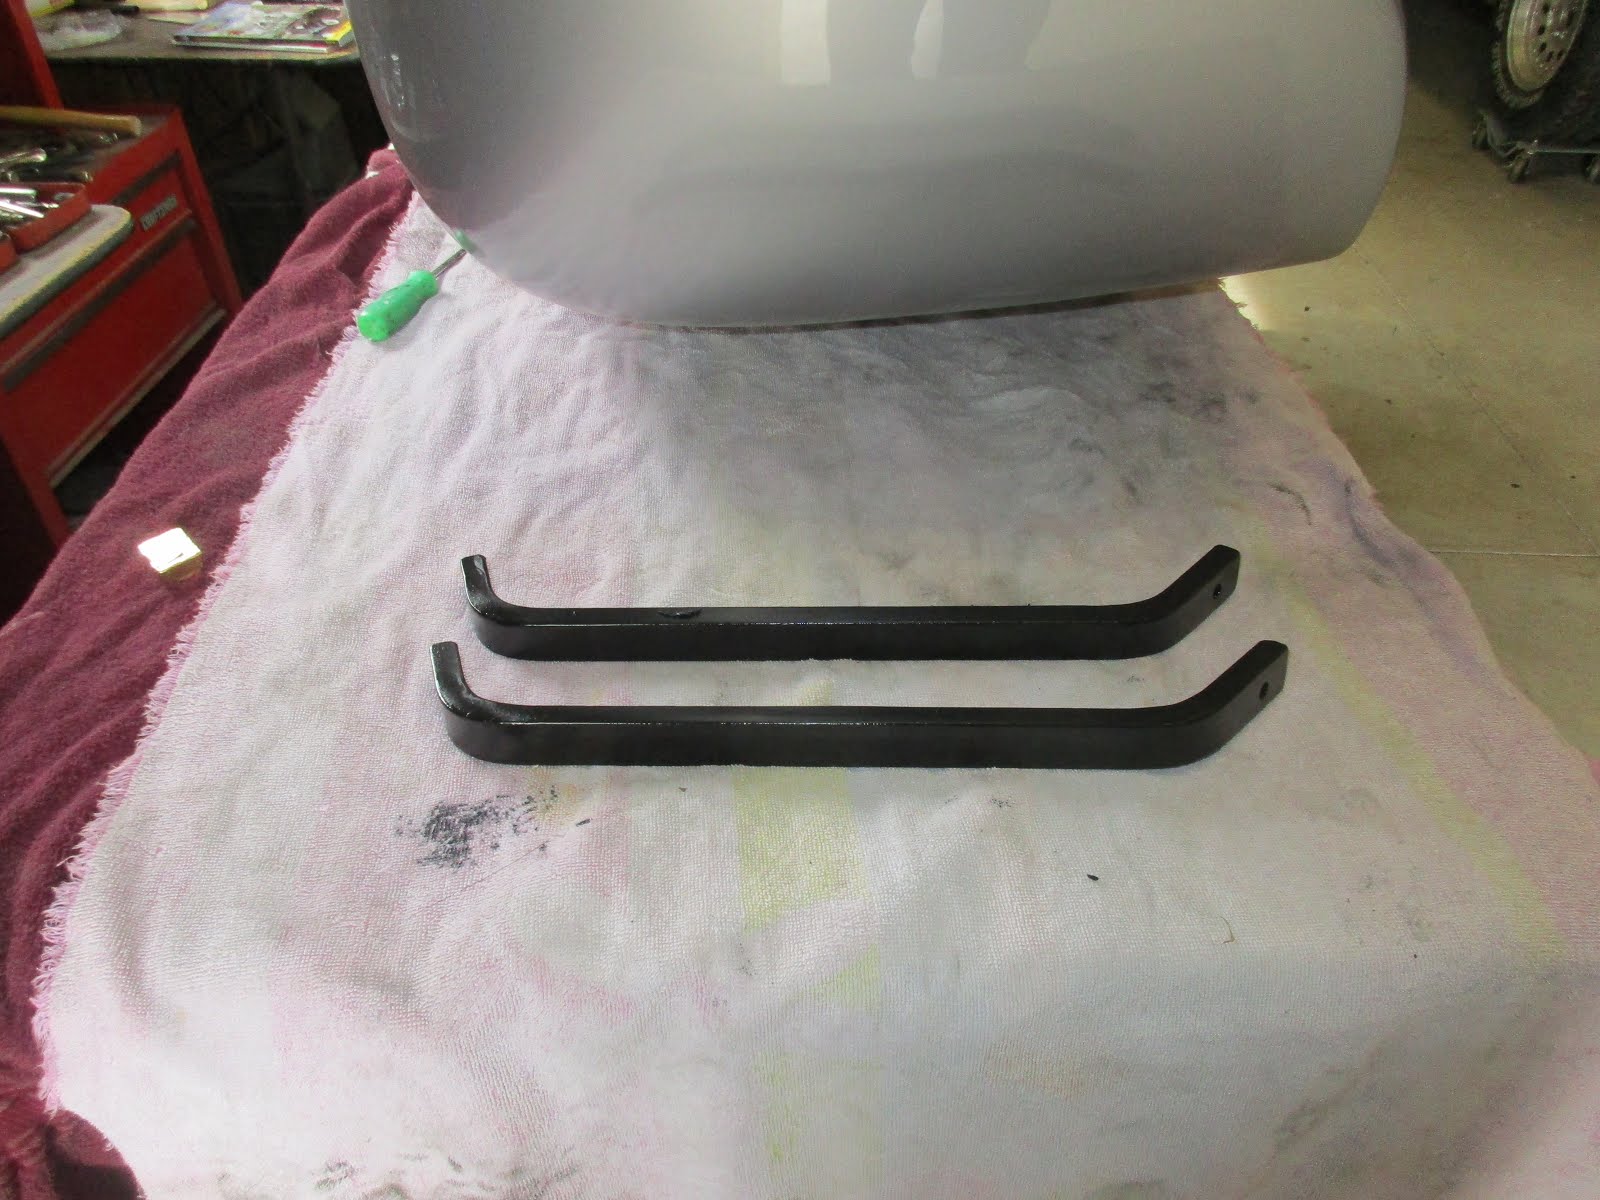
I made two new rear fender brackets that connect the outside of the fender to the bed. This keeps the fender from flopping in the breeze.
Another problem rose it's head yesterday. Last time I started the engine, the goose neck on the intake manifold leaked antifreeze. That type of goose neck is notorious for being warped. I had removed it and flattened it by rubbing the flange part on a piece of sandpaper on a piece of glass. Then I applied some RV sealant and put the coolant back in the radiator. Yesterday I wanted to hear the engine run again and thought this was a good time to see if my fix worked. Ran the engine up to 180 degrees ( I have a 180 degree thermostat installed), but the temperature kept climbing to 220 degrees when I shut it off. The good news was, it did not leak.
While telling my friend Bob about it today, he said I just might have an air lock in it an to try it again before I tore it all apart. I did just that and the gauge again climbed to 220 degrees. After I shut it off I checked the radiator and the bottom was warm and the top was cold. I loosened the radiator cap and got a burp of air out and all of the radiator turned hot. I started the engine again and now it runs a flat 180 degrees like it is supposed to. Thanks Bob.
Wednesday, April 20, 2016
Let there be Light
Finished up the front end today except for the hood. Got all the wiring finished for the parking/turn signals and the head lights. Spent a while on my back on the concrete finishing the wiring. Tested the lights and all worked okay. Even the high and low beams. Sure glad that part is done. Finished putting on the rest of the sheet metal above the grill.
Looks like I will have to go back under the dash and finish running the air ducts.
Then I will put the seat back in. Will be waiting the bed shortly.
Looks like I will have to go back under the dash and finish running the air ducts.
Then I will put the seat back in. Will be waiting the bed shortly.
Saturday, April 16, 2016
Front Sheet Metal and Wiring
Maui was a hoot. Great time with the kids and grandkids.
Back on the front end of the F1. Got all the Stainless Steel bolts, nuts and washers installed on the front fenders. Every thing lines up pretty good. I think the alignment on the upper and lower parts of the fenders turned out great. Jeff did a nice job massaging them. Put in the lower piece that holds the fenders together at the bottom and lined all that up with the grill. Now I am in the process of wiring the parking lights/turn signals. Should finish that tomorrow and then wire the head lights. Still have two more pieces of sheet metal to apply at the front top of the fenders after the head light wiring is complete. The front end will then be done except for the hood. That will be the last item painted. The rear box has been primed and block sanded. Should get painted soon.
Back on the front end of the F1. Got all the Stainless Steel bolts, nuts and washers installed on the front fenders. Every thing lines up pretty good. I think the alignment on the upper and lower parts of the fenders turned out great. Jeff did a nice job massaging them. Put in the lower piece that holds the fenders together at the bottom and lined all that up with the grill. Now I am in the process of wiring the parking lights/turn signals. Should finish that tomorrow and then wire the head lights. Still have two more pieces of sheet metal to apply at the front top of the fenders after the head light wiring is complete. The front end will then be done except for the hood. That will be the last item painted. The rear box has been primed and block sanded. Should get painted soon.
Wednesday, March 30, 2016
Front Sheetmetal On
Bob Ertzinger and Tony Cetta came down yesterday and really helped me install the front sheet metal on the Ford.
I had painted the under side of the front fenders with a bed liner type of material by DuPont. This is to try to keep any rocks picked up by the tire treads from putting spider webs in the top paint. Hope it works. We put the right upper and lower fender together first. Then we put the right running board on, which also attaches to the rear of the front fender.
Next we put the left top front fender on and then the grill was installed. Next the left lower fender went on and then the left running board. Quite a lot for the day. We ran out of Stainless Steel 5/16 bolts so called it a day. I couldn't have done it with out those two guys. Got more bolts and nuts today. Still have three smaller pieces to install on the very nose. Need to finish up wiring the front head lights and parking lights first.
Gonna take a break for a week. Headed to Maui. Life is good.
Saturday, March 26, 2016
Another Good Day
Went down this morning and picked up the back fenders and the running boards Jeff had just finished painting. Brought them home and then Bob helped me install the rear window and front windshield. Both went very smoothly and no broken glass. Will start installing the front fenders and grill this next week. Won't get the bed painted until late April or May. Still a lot of other stuff to do.
Time for a beer.
Time for a beer.
Wednesday, March 23, 2016
Runs like a sewing machine.
Got all the wiring stuffed in as well as I could an then installed the radio and speakers. It didn't work. Quit for the night and found this morning I had a blown 10 amp fuse. I must have hit a ground with the hot wire as I was hooking it up. Quick fix with a new 10 Amp fuse. Got an antenna in the mail for it today and works great.
Hooked a battery up and jacked up the rear end. Had to put some gas in the carb to get it started. Ran fine and heated it up to 170 degrees. All gauges and lights and other stuff works okay. I pushed the brake in and put it in gear. This is the first time the transmission and rear end made movement. All seems well. I didn't run it through the gears to see if it shifted okay. Will wait till I get it all together to give it a test ride. Next, the front sheet metal goes on. Been a good day.
Hooked a battery up and jacked up the rear end. Had to put some gas in the carb to get it started. Ran fine and heated it up to 170 degrees. All gauges and lights and other stuff works okay. I pushed the brake in and put it in gear. This is the first time the transmission and rear end made movement. All seems well. I didn't run it through the gears to see if it shifted okay. Will wait till I get it all together to give it a test ride. Next, the front sheet metal goes on. Been a good day.
Sunday, March 20, 2016
IT WORKS!
After talking to my Friday "Car Guys Group" I got some great wiring information. Rollie Kinneer showed me where and how the transmission safety switch was wired and Larry Gerdom explained all the rest of the "Mystery wires I didn't understand. Most of which I will not use. Some of it is for cruise control that I may hook up in the future.
Today I wired in the transmission switch and hooked up my testing equipment after I put the gauge cluster in and hooked up three more ground wires. I was happy that everything worked except the horn and brake lights. I found out the wires to the horn ring at the top of the column weren't hooked up. With that fixed, It worked. Next I found that one of the wires I put on the brake light switch wasn't shoved on far enough to make connection. Easy fix. I had my best helper Nancy come out and push on the brake pedal while I had the test meter hooked up to the rear wires. Hoot, Hoot, it worked.
Still nothing smoking so I might just be flat assed lucky.
I have three nuts and clips that hold the gauge cluster in to install, and then start bundling the wires up in the dash. Looks like tomorrow I will be laying on my back.
Next, I will put a battery in and try to start it. MOTHER OF PEARL. life is exciting.
Friday, March 18, 2016
Almost a Sparky
I have all the wire installed and now ready to put the gauges in. Bob came down and helped me do some testing. I hooked up my 12 volt battery charger to the battery wires (without the battery) and set it on 2 volts for testing. Didn't want to smoke anything yet. The head lights and dimmer work. The air conditioning fan works. The window wipers work. Tail lights and parking lights work. Power for the radio works, but not installed yet. Can't get the turn signals to work yet. (head scratch). I have some questions on some of the extra wires coming out of the S10 steering column. I don't think I need them, but will consult an expert. (Yes you should Norm).
Got to get this sorted out before the rest of the sheet metal goes on. This has been the most challenging part of this build for me so far. So, what can you ask out of an old Plummer.
Boogie Til Ya Puke!
Tuesday, March 8, 2016
Steering Column in
I recovered from my birthday, so it's time to get back to work. Installed the steering column yesterday and hooked up the bottom end to the power steering rack. Now I have to figure out all the wiring that hooks up to it. May have to down load a schematic of an S 10 steering column. The weather is getting better and quite comfortable working in the garage right now. Got a call from my painter Jeff this morning. He is starting on the back fenders and the running boards today. He will do the box after that. Time to hit it. Get er done.
Tuesday, March 1, 2016
A/C wiring done
Got all the A/C wiring installed and the drain hose in and clamped down to the frame. Have one ground wire to run and then put all the wires in some Power Cord. Got a few other wires run to the fuse block. Not too many more to run on the drivers side and then I can put the steering column in permanently. The cold is back so will have to wait a few days til it warms up again. Guess i'll work on the spinning wheels in my wood shop. It's always something.
The big diamond birthday tomorrow. I will be 75 years old tomorrow. Who da thunk I would last this long. Got too many projects yet to finish. Can't go just yet.
The big diamond birthday tomorrow. I will be 75 years old tomorrow. Who da thunk I would last this long. Got too many projects yet to finish. Can't go just yet.
Monday, February 22, 2016
The weather is getting better
Finally got back in the garage after the last cold spell.
Been working on the Air Conditioning installation. Who ever said this install is easy, is kinda off their nut. Anyway, got the main Air/heat box installed under the dash. Got all the AC and Heater hoses run. Installed the control module on the dash. Now I have to finish the wiring and also install the drain hose. Hopefully that completes the A/C.
I have to get back to the cowl vent and figure out why the gasket isn't fitting to well. May still have to bend the Handle that opens the vent for clearance.
Then on to the window wipers. Then comes the steering column and all it's wiring. This isn't going to get done over night, but I still am having fun.
Tuesday, January 26, 2016
A/C Hoses Crimped
Took the air conditioning hoses into Brozene this morning and got them crimped. The guy that did the crimping is very knowledgeable. He explained the difference between the old and new type hose material. He also explained that if there wasn't enough cooling that the low pressure hose off the compressor may need to be increased in size from 1/2 inch to 5/8 inch to give the low pressure side more volume. Will find that out after I first get the system charged. Note to self, (Don't forget.).
Monday, January 25, 2016
Getting some done in the cold
I actually have been out in the garage a few times this winter. I turn on the wall heater and crank up the two propane heaters and get the garage up to about 50 degrees. That's workable.
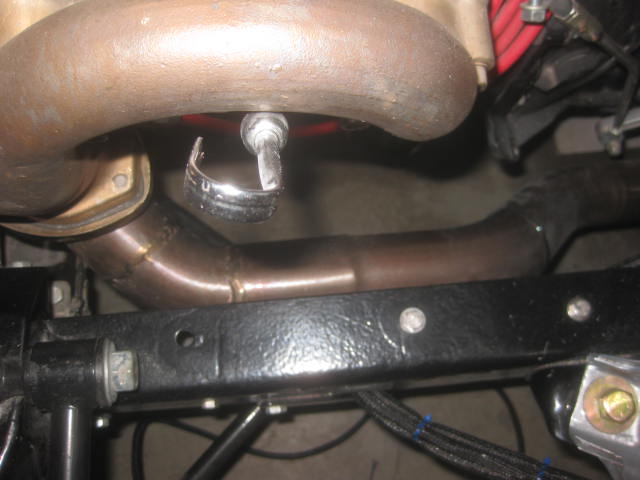
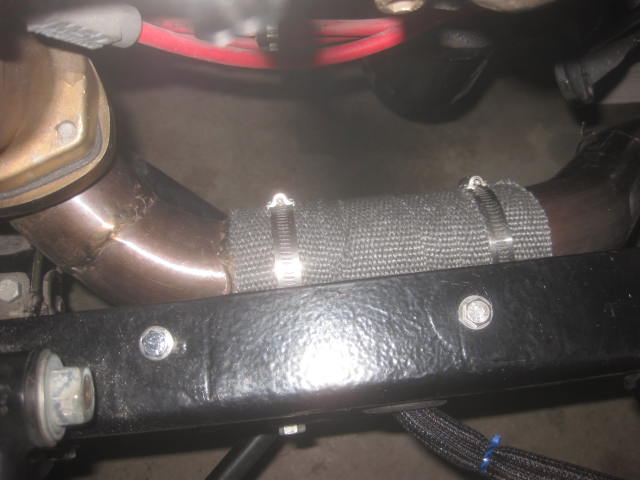
I ran some of the wiring through power cord on the drivers side, down through the frame and close to the exhaust pipe. I got some Cool It wrap from my friend Bob and wrapped the exhaust pipe in that area. This should protect the wiring now.
I also got the front fenders back from Jeff the painter. They turned out great. Not ready for installing them yet. Next he will paint the back fenders and the running boards.
Working on installing the cowl vent. The gasket doesn't want to fit just right. May have to get a thinner gasket for it.
Also put the Vintage Air unit under the dash. Still have to wire it. Will take the hoses to Brozenes in Burlington tomorrow and get the ends crimped on.
Leaving for a Caribbean cruise on Friday. I think I'm ready for a break. Need some sand between my toes.
Saturday, January 9, 2016
Chillin and Grillin
Still got my cold, but did fire up the heaters and got some work done on the F1 the last couple of days.
Got most of the cab floor covered with the Peel and Seal. Still need to go up the back wall.
Also got some more wires covered with powerbraid.
It is 21 degrees out now so decided I wouldn't be able to bring the heat up in the garage today enough to work comfortably. Therefore I brought in the newly painted grill and installed the front stainless pieces and the parking turn signal lights.
Looks like it's going to be a few days, or weeks, until the cold lets up, So will have to do some inside work.
Wednesday, January 6, 2016
New Year 2016
Well, It not only got cold, but we had a house sitting job in West Seattle just before Christmas. Took care of a nice dog (Mia) and a fish and gerbil. Lucked out and all lived. Unfortunately, I caught a cold while out there and brought it home. still trying to recover and also gave it to Nancy.
No work on the truck since last entry.
Today I did go down to the painter Jeff's place and picked up more painted parts. Most were the front end stuff like the grill etc. Jeff has the front fenders painted and still has to buff them out.
Tomorrow it is supposed to be in the forty's, so will crank up the heaters again and try to finish applying the Peal and Seal to the cab floor. Then it's back to the wiring. The steering column wiring has me a little confused, but will work through that. Lots left to do.
Thursday, December 3, 2015
Wiring, Wiring, Wiring
Doing pretty good on the wiring so far. Got a couple of propane heaters that work off the top of a 20 lb bottle to heat the garage. Along with my little 200 amp wall heater, it has been keeping the garage at a nice 54 degrees. Just right to work in a sweat shirt.
Started by putting some Peel and Seal from Lowes on the firewall (This is like Dynamat only cheaper) that will seal out some of the heat and noise from the engine compartment. That stuff really sticks good. Then I mounted the main breaker panel on the firewall just behind the gauge panel. Ran the main battery power leads to a Megafuse on the frame next to the starter. Ran the ground wires to the engine block and frame. Still have to ground the cab yet. Drilled the brake pedal for a small roller that activates the mechanical break switch and wired it. Started routing all the rest of the spaghetti today and I will run the wires to the stuff at the rear of the truck , (Tail lights, Fuel tank, etc.) I just lit my heaters up so now it's time to get back at it. My how time flies while your having fun.
Started by putting some Peel and Seal from Lowes on the firewall (This is like Dynamat only cheaper) that will seal out some of the heat and noise from the engine compartment. That stuff really sticks good. Then I mounted the main breaker panel on the firewall just behind the gauge panel. Ran the main battery power leads to a Megafuse on the frame next to the starter. Ran the ground wires to the engine block and frame. Still have to ground the cab yet. Drilled the brake pedal for a small roller that activates the mechanical break switch and wired it. Started routing all the rest of the spaghetti today and I will run the wires to the stuff at the rear of the truck , (Tail lights, Fuel tank, etc.) I just lit my heaters up so now it's time to get back at it. My how time flies while your having fun.
Tuesday, November 24, 2015
Daddies Little Fatty Is back home.
Jeff finished up the last sanding and buffing of the cab last night. I can't say enough about how talented this guy is. He ironed out all the wrinkles in the body and did an amazing paint job. It really pops out in the sunlight. And he has lots more to do yet.
I got Bob Ertzinger, Dean Long and Tony Cetta together again this morning and we set the cab back on the chassis and bolted it down. We then winched it on Jeff's trailer and tied it down for the ride home. We met up again at my place and un-loaded my baby and put her back in the garage. My girl Nancy made lunch for everyone and after thanking everyone profusely. the guys all headed on home.
I did some clean up on the chassis that was dusty from setting., and vacuumed out the inside of the cab. Will start the wiring in a couple of days. Hope it doesn't go below freezing for a while.
Sunday, November 22, 2015
Cab is Painted
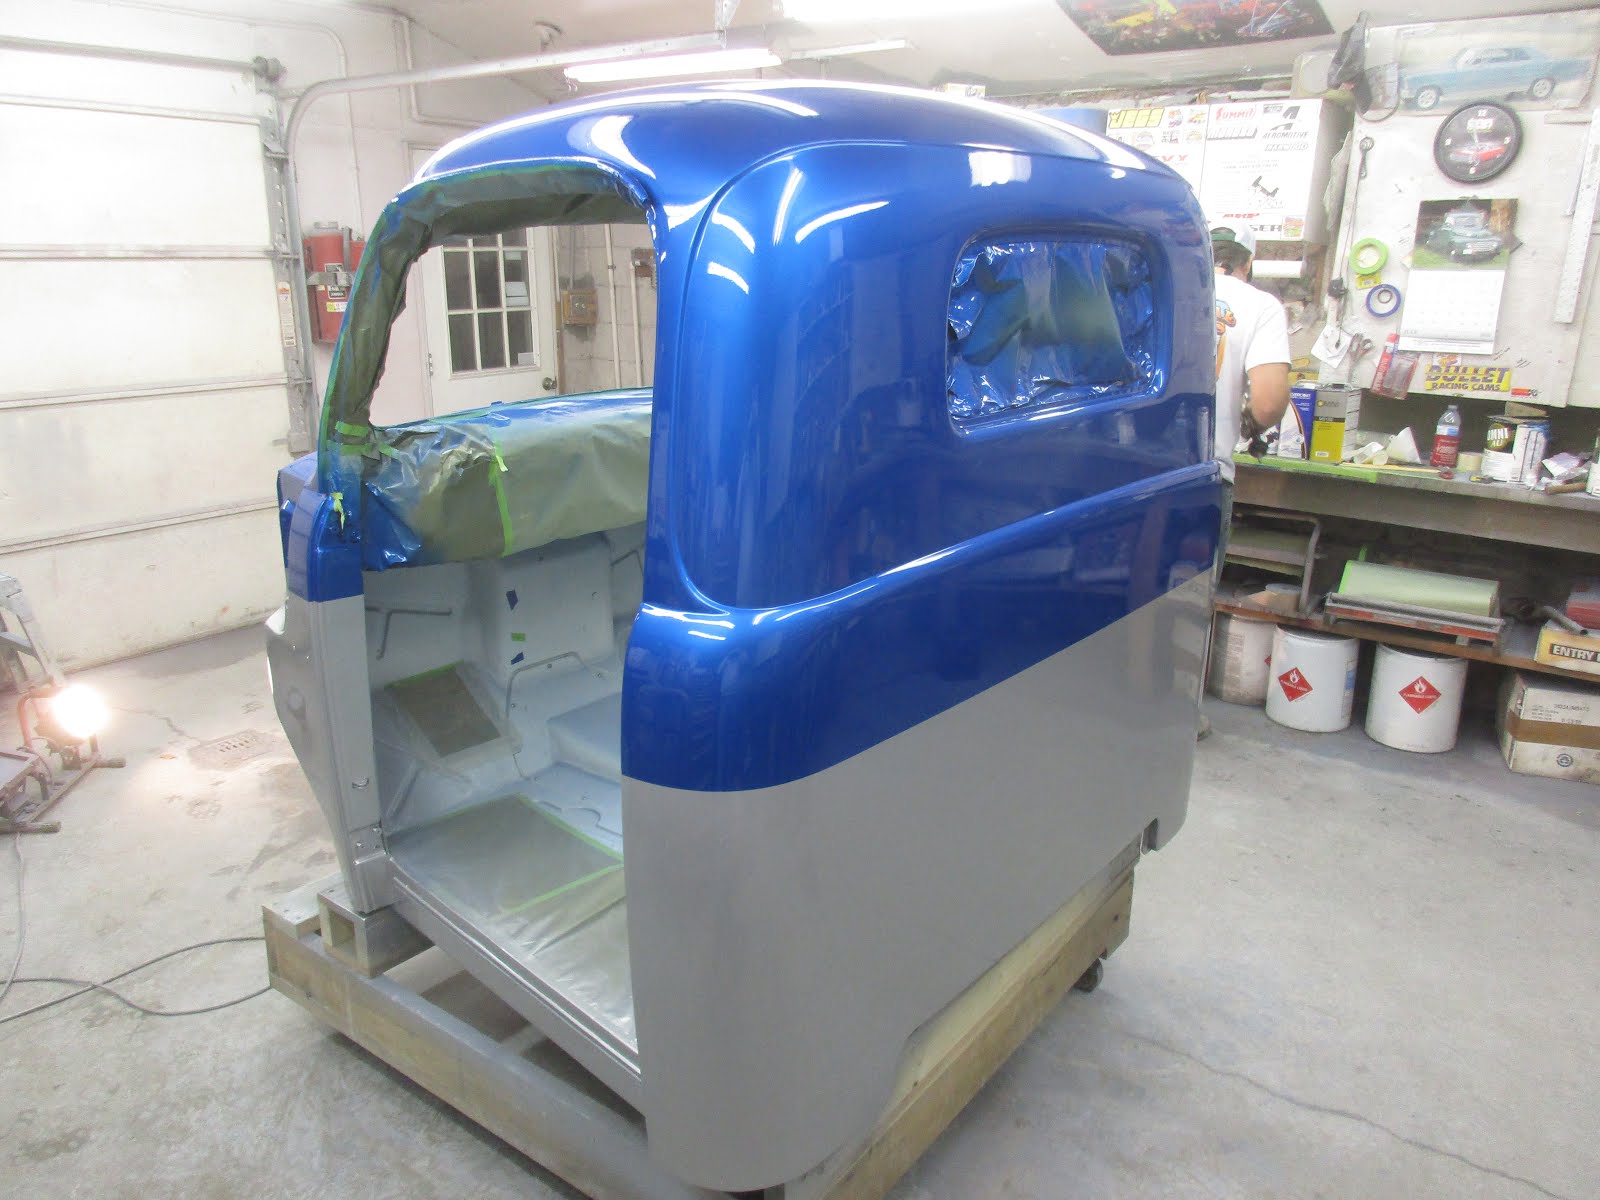
Jeff the painter had a bad day on Thursday. First the motor on the fan that evacuates the fumes and overspray burnt up. Luckily he had a spare motor and changed that out. Then in the late afternoon, the motor on the compressor burnt up. He called me and said he was going to try to get one first thing Friday morning. If so, he would call me to come on down for paint. He called me at 8:30 AM and had a new motor and was on the way home. By the time I got there he had just finished hooking it up and was testing it. He said this was a bad thing and a good thing. Bad that it burnt up and had to buy a new one, but a good thing that it didn't happen in the middle of painting the cab. Anyway, it was a long day, with a coat of sealer and then 4 coats of blue and 4 coats of silver. After that it was three coats of clear. Didn't get finished until 6 PM with no lunch break. Never sat down in that 8 hours either. I was very happy with the results and went home a tired puppy.(Old Puppy) Jeff let it set yesterday and went at the final sanding and buffing today. He will finish that up tomorrow if all goes well. I will gather the usual suspects together Tuesday and we will put the cab back on the chassis and load it back on the trailer and bring it back home. Jeff will work on the other parts as winter progresses. I will start on the wiring. WHEW!
Tuesday, November 17, 2015
Wet Sanding the Primer
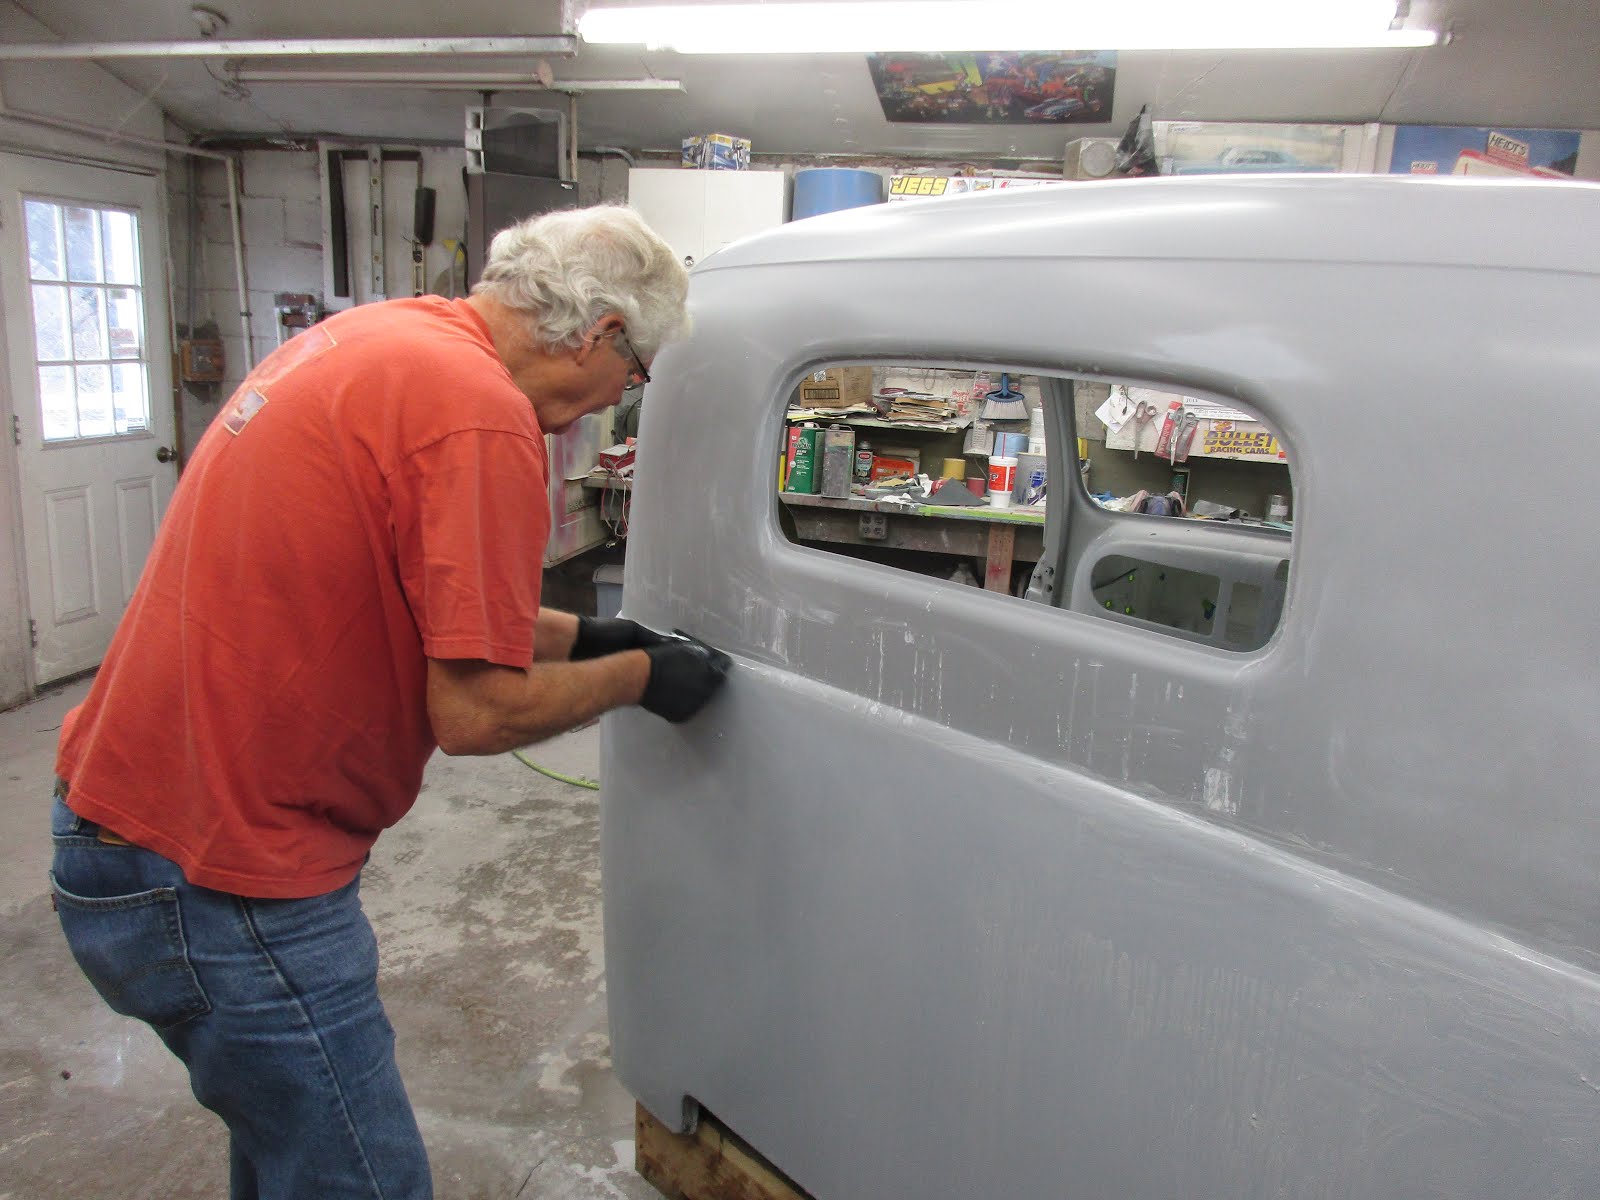
Jeff was teaching me the finer things in wet sanding the primer today. There is a lot more elbow grease to this than the average person realizes. Anyway, Jeff will finish up blocking the cab and tomorrow he will paint the dash and upper cab visor area the blue color. I wont be there for that, but Friday if all goes well I will watch him paint the exterior. Both the blue and the silver will be done then. The upper part with the blue first. Then re-tape and the lower silver goes on. Probably three coats of color first then the whole cab gets about three coats of clear. This should take about 5 to 6 hours to complete. Then it has to set and then the final block sanding and polishing begins. It's gonna be awesome!
Monday, November 16, 2015
While we're waiting
Well, while I am waiting for the cab to be painted, I thought I might get to rewiring the headlights and parking lights. The headlights were pretty straight forward. I got 2 new wire plugs for the back of the bulbs and a couple of grommets. I clipped off a short piece of the new wiring harness that has the right color and printing on the wire and spliced short pieces on the new 3 prong holder. Then I put some shrink over it and put it through the grommet. After attaching a new 6024 Halogen 12 volt bulb, I put all the parts together in the headlight buckets. They are now ready to install. Next, I wanted to change the one wire parking lights to a 2 wire system so I could use them also for turn signals. I had to push out the existing bulb socket and bought a set of two wire sockets. Got them pushed in and I added a couple drops of JB Weld around the sockets so they can't slip back out. Did a battery test and both filaments light up. Should work as I want If I wire them correctly to the harness. The wiring kit is going to be a real test of my ability.
Friday, November 13, 2015
The rest comes apart.
Today with the help of Bob Ertzinger, Dean Long, Tony Cetta and Jeff Crow, we finished removing the cab off the chassis. We first took the bed off so we didn't have to lift the cab over the engine. We then lifted the cab and put it on the roller I made for the cab repair and painting process. We put the bed back on the chassis for temporary storage and pulled it up to Jeff's other garage where it will wait until the cab is finished. May have the new paint on the cab by next weekend. WHOOT, WHOOT!
Thursday, November 12, 2015
The truck come apart for paint
We started taking the truck back apart today. All the front end sheetmetal were removed and the back fenders also came off. Tomorrow I will gather four other friends together and we will remove the bed first. Then we will lift the cab off and put it on a roller I made for the paint job. The chassis will be put away in Jeff's garage until the cab is painted. Then we replace the cab on the frame for the last time. I will then bring it home for the wiring. More to come tomorrow.
Wednesday, November 4, 2015
Gone to Paint
Well, the F1 has finally gone to paint. Sunday November 1st 2015 we loaded Daddy's Little Fatty on a trailer and sent it on down the river to Warsaw IL (about 43 miles south of me) to Jeff Crow for the final prep and then the paint. We went to Abbotts Paint supply in Quincy Il, on Tuesday Nov 3rd to buy the paint and other supplies that will be needed for the paint job. We then decided on what will be the final paint scheme, which is a two tone, and where the cut line will be. Jeff will now do some final prep and then we will take the truck all apart again. The cab will be painted first, off the chassis. When it is all buffed out, we will put it back on the chassis and bring that back home. Jeff will finish the rest of the parts over the winter and should be ready for final assembly next spring.
When I get the chassis and the cab back, I can then start on the wiring. Never done one of those, so that part should be interesting. I am actually looking forward to it. This new coat will totally change the looks. There is a light at the end of the tunnel.
When I get the chassis and the cab back, I can then start on the wiring. Never done one of those, so that part should be interesting. I am actually looking forward to it. This new coat will totally change the looks. There is a light at the end of the tunnel.
Tuesday, October 6, 2015
Falls a comin
Well, still waiting to go into paint. Meanwhile I have done a few things to the truck. I also downloaded Windows10 to this computer and I got locked out of my blog. Finally got that solved.
While waiting for paint, I installed the parking brake. It still needs a final adjustment but will do that at a later point. I also got back to the gauge panel and completed the wiring. It is now ready to drop in and plug into the main panel when that is installed.
I also drilled some holes in the rear bed pockets for the rear tail light wiring. After paint, grommets will fill the holes to protect the wiring harness.
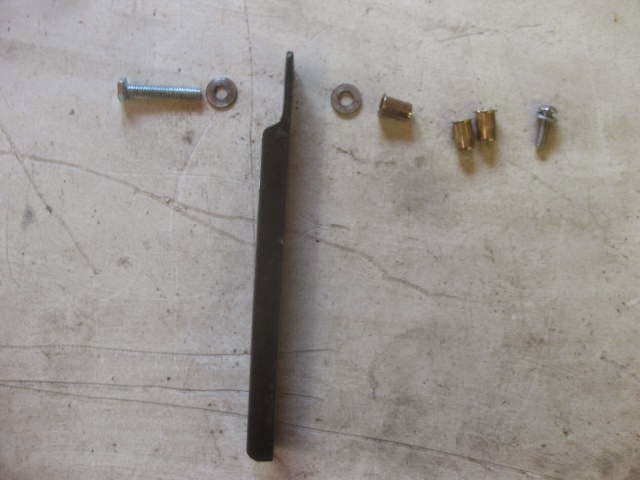
I put a hold down apparatus in the box behind the seat to hold down the battery when it goes in. I used nutserts in the floor and threaded some 1/4 inch stainless steel rod I got off an old hotdog cooking fork. (A little MacGyver there) and drilled holes in the cab floor for the wiring. Used some 1/2 inch water hose for grommets through the floor. Going to work great. Will finish running the wires after paint.
Monday, August 17, 2015
New Upholstered Bench Seat
Got the bench seat back from the upholsterer today. I'm very pleased with Bob Petersons work. I wanted something that was subtle and not too wild. It's a nice two tone grey with silver piping. The vinyl is called Mellowhide II. Bob also added a couple of pockets in the back for small items. Bob will do the rest of the cab upholstery later after the paint is done and we get the truck running. I may have him add a skirt to the bottom of the seat later.
Monday, August 3, 2015
Bench Seat to Upholstry
Took the bench seat for a short trip over in Illinois to a friend, Bob Peterson. He has been doing upholstery for a long time on the side. His main job was an engineer at Case Company. He is retired now and does this as a hobby. He has upholstered a lot of the cars of our "Car Guys Group" that meets every Friday morning. Anyway he will start on it soon. We are headed to Hawaii tomorrow and it should be done when we get back. The colors I finally picked are two shades of grey with silver piping. I think it will turn out great. We will know soon.
Thursday, July 30, 2015
Chrome hood latch pieces back
Went to Quincy today to pick up three pieces of the hood latch at Precision Plating. They re-chromed them for me. Took a while. They are very popular and are always backed up. Not a bad business to be in I guess if you can deal with the chemicals. Anyway, what was going to be 4 to 6 weeks turned into 10 weeks. They sure did a nice job. Can't complain about that. Truck is still waiting paint so this is just another item to cross off the list.
The bench seat should go to the upholsterer next week. Finally decided to go with the two tone grey.
Should be back in a couple of weeks. Anxious to see how it turns out. A nice guy named Bob Peterson is doing the work. He will also finish the interior after the paint and wiring are complete.
Been a hot wet summer so far. To humid to paint. Maybe September. Got my fingers crossed. Meanwhile, the F1 is resting.
Saturday, June 6, 2015
Glass Patterns Made
I made the glass patterns out of 1/4 inch fiber board.. Probably could have used the windshield glass, but it was already starting to bubble around the edges. I had broken the rear glass getting it out of the cab. Since I eliminated the wing windows the door glass has to be new. I went locally to Barngrovers Glass and talked to Mike Conner's (nice guy). I ordered the back and door glass tinted grey. The front windshield legally has to be clear. Mike says it would take about 3 hours grinding time to complete all 4 pieces of glass. Should be done sometime next week.
I learned something from the "Friday Car Guys" about the glass. You need to paint the edges of the glass to seal it from the air. If you don't it will bubble between the glass layers later on. Good suggestion, didn't know that.
Talked the the fellow that will do my upholstery. His name is Bob Peterson and is one of the "Friday Car Guys". Saw some of his work and looks great. He's got projects ahead of me so will be a little while before he gets to me. I will have him do the bench seat first and the rest of the cab later after the truck is running. Still holding on to using a saddle brown color, but grey is still in the running. Which way do I go, which way do I go. Got to make up my mind soon.
Saturday, May 30, 2015
Speakers mounted
Got the speakers installed in the storage box lid behind the seat. Took it all apart and painted it the same white as the inside of the cab. It will all get covered later when the upholstery gets done. Got it all back together now. Will put the speakers back in and wire them after the truck is painted.
Speaking of upholstery, Have a guy in my Friday Car Guys group that does upholstery. Will go see him in the next couple of weeks to get the seat done. I finally think I have decided to go with a saddle brown upholstery. I like the color and think it will look good in this cab. I would ask you what do you think, but, in this case, I'll go with what I think.
Speaking of upholstery, Have a guy in my Friday Car Guys group that does upholstery. Will go see him in the next couple of weeks to get the seat done. I finally think I have decided to go with a saddle brown upholstery. I like the color and think it will look good in this cab. I would ask you what do you think, but, in this case, I'll go with what I think.
Sunday, May 24, 2015
Battery and storage box
Got the storage box done except it still needs painting. Looks like I will put the battery in the passenger side of the box. I mocked up a cardboard box about the size of a battery and it fits just fine. I think that will be a better place for it and easily accessible. I'm going to put an Optima Red Top battery in it so there should be no fume problem in the cab. I will run the cables through the cab floor and forward in the frame to the engine compartment.
I also decided I didn't want the radio behind the seat in the storage box lid. Just too hard to get to while your driving. Therefore , I made a bracket and hung it below and in the middle of the dash. The new radio wont fit in the old hole without major changes, and the dash is already primed, so will use the new blank off panels back in there spot. I think I will put the speakers in the storage box lid. Need to work on that tomorrow.
Lots of rain this week. The corn is growing fast.
Saturday, May 16, 2015
Front Fender Filler Pieces
Finally crawled under the truck and installed to two small filler pieces between the back of the front fenders and the running boards. Had to drill three holes in each piece and cut some of the metal off that was overhanging and not needed. Wasn't to bad of a job.
Next, I need to build the box behind the seat that will house the battery and possibly the radio system.
Next, I need to build the box behind the seat that will house the battery and possibly the radio system.
Wednesday, May 13, 2015
Seat Work
Took some trim pieces that need re-chroming to Quincy yesterday. Took them to Precision Plating. Old fella Named Bill (about my age) owns and runs the place. Heard good reviews about the place. Very interesting guy. You wouldn't believe all the different stuff they plate. Looks like 5 to 6 weeks lead time. Will take a picture when I get them back.
Meanwhile, been working on the seat springs. Took a while to get both the seat and back stripped of the cover and batting underneath. Found 5 broken springs. Ground a trough in some 1/4 inch bolts about 2 inches long and used them to strengthen the welds. Sandblasted both seat and back. Then a coat of primer and a coat of metallic silver paint. None of it will be seen later after it is reupholstered. Ran out of paint, so have to finish painting the back springs. Then The back springs need to be reattached to the back frame.
Now I have to go tackle those two small filler pieces between the rear of the front fender and the running board. Been procrastinating on that as it is on the floor, on the back work. Shouldn't take too long hopefully.
Thursday, May 7, 2015
Seat Frame Repair
Took the seat frame all apart and sandblasted it. Primed it and shot it with a metallic silver coat of paint. Hope that will blend in with the colors later. Will take the burlap off the back springs and clean them up next. Then I will attack the seat bottom.
Tuesday, May 5, 2015
Spring busy
When the weather changes for the better, you have to multi-task. Lawns mowed, garden is plowed and planted. Canoe is fixed and waxed. Trailer is ready for the canoe and Kayak. Harley is ready for next weeks "Old Dogs on Hogs" Ride.
I did get some things done on the F1 in the interim. Installed the steering column to check if the new wheels and tires will fit on the front. Don't have the tires yet, but soon I hope. The rollers I have on it now fit fine and are 28 inch in diameter. The new wheels and tires will have the same diameter and offset. Should fit fine. Also mounted the stainless running board steps.
Was going to put the bench seat back in to see how much room I will have behind it now that the gas tank has been reposition under the bed. Found the drivers side of the mounting hardware was all broken down. Took the frame and seat apart and worked it back in shape with a hammer and a little welding and grinding. The two mounting sides are in primer now and still have to sandblast the frame and prime it. Looking to mount the stereo system and battery behind the seat.
Harley ride to Texas and Louisiana starts next week. Looks like we may be riding in the rain again.
(But who cares.)
Saturday, April 25, 2015
Back to the Stainless and Chrome
Cold and rainy again today so went back to polishing the stainless steel and chrome for the hood and lights. The handle in the nose that opens the hood is a bit pitted and no one makes a new one. Might have to get that one and the dummy handle on the other side re-chromed. Although you can buy a new one for the dummy side but not the main one. Go figure. I do have to say the handle that opens the hood is a bit more complicated and therefore may be cost prohibitive to make. You can see in the picture that I do have some extra pieces. I will use the best ones and put the others on E-BAY after the truck is done to recoup some of my costs. (A drop in the bucket. Small laughter in the background).
Subscribe to:
Comments (Atom)


