First the good news.
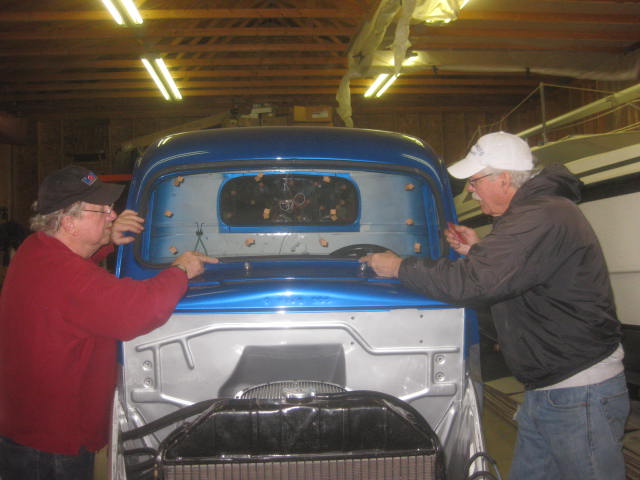
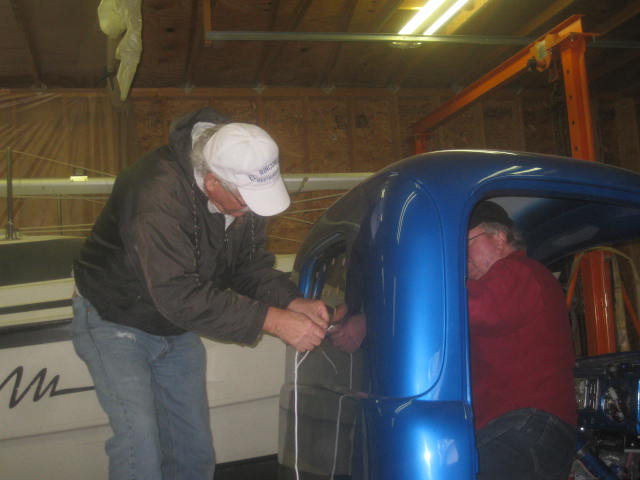
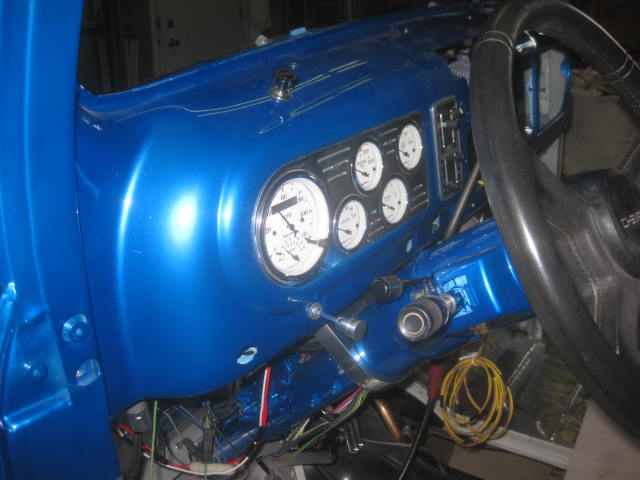
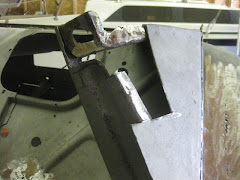
I finished installing the window wipers today. I tried to cut and grind the two existing dash braces to get the apparatis mounted and finally did as the instructions said and cut both completely out of the way. With a little more modifying it all went into place. Most HotRodders don't like running their ride in the rain. This one will if need be.
Now the bad news.
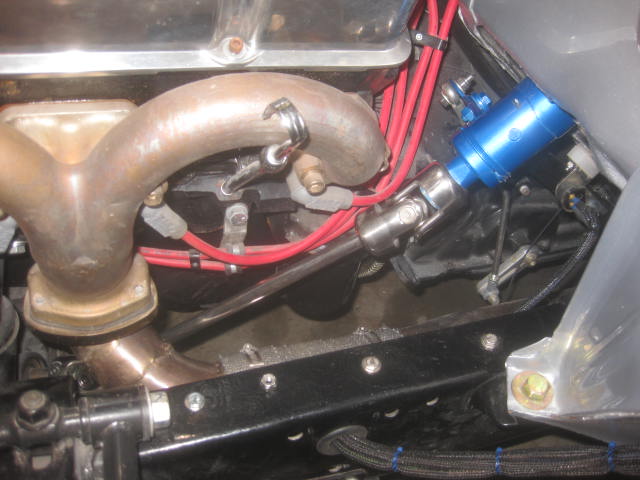
Cliff called me about the 355 engine and said I should come and look at it. I headed on down to Missouri and he showed me basicly a pile of junk. The heads were bad. The crank bearings bad and one spun on the crank. (it can be reground). One of the pistons was froze on the rod pin. An old distributor gear was used on the distributor and ruined the cam gear. The rods are okay and can be reused. The timing cover was beat up and junk. The pan, intake, timing gear and chain are okay. There was a lot of filings in the pan and so the oil pump is shot.
We found a crack in the block, so that is no good.
To make a long story short, Cliff has another block and will build me a good engine using the parts that are salvagable. Everything else will be new including new heads.
This was a costly mistake on my part. I learned a hard lesson. Won't do that again.
Monday, October 24, 2011
Wednesday, October 19, 2011
Whew, Lots of stuff
Got all the brake lines finished and now they are ready for fluid and bleeding. Later on that.
Worked on the steering column brackets and got the top bracket and shim done. Now working on the sheetmetal for the firewall where the bottom of the column goes through.
Got my new Window wiper kit from Dennis Carpenter Industries this week. Looks real nice, but may be a little complicated installing. More head scratching.
Meanwhile, Bob Ertzinger and Tony Cetta helped me take the 355 Chevy engine down to Missouri this morning to Cliff Couch. He has been rebuilding motors for more than 50 years. Does a lot for the race crowd around here. He's 71 years old and doesn't look close to that. He will tear down the engine and make sure it will run okay for me. Should get it back in a couple of weeks Tony has a set of Edlebrock valve covers I can buy for it that will dress it up nicely.
Got to order a starter, water pump, alternator and Carb to finish it off.
Soon I have to get started finding a 700R4 transmission. Maybe out of Kansas City. It would be nice to have all this installed by Spring. (Wishful Thinking.)
I keep plugging along like an old mule.
Thursday, October 13, 2011
Brakes almost done
Drilled and taped two holes in the front crossover piece and installed the brake metering valve. Got all the brake lines made and installed except the last one at the right rear. Will finish that one this weekend. Also drilled holes in the frame and install insulated brake line clamps about a foot apart. Used Stainless Steel nuts and bolts to hold the clamps down.
Van Aldershof showed up again today and brought the steering column back with a new column drop on it that he made out of a nice chunk of aluminum. He also punched out the ignition switch and installed a new one with a key in it. We mocked it up in the cab and I think it's going to be great. Van saved me a lot of money and time on this little baby. He's an excellent machinist.
Now I will have to build an additional plate to mount the bottom end of the column to the floor board/ firewall.
Sunday, October 9, 2011
New Brake Lines Started
Welded up the last two patches on the cab yesterday and did some Mudding.(Body filler). That stuff sets up fast and is harder to sand than I thought. Lot more of that to do yet.
Started on the brake lines today. Made a bracket for the adjustabe proportioning valve and mounted that tucked up in the frame rail for protection. Got three lines bent coming out of the Master Cylinder and holding the residual valves. The top red one is like a 10 pound check valve going to the adjustable proportioning valve and then on to the back drum brakes. The bottom blue one is a 2 pound check valve that goes forward to a hold off / metering valve and then on to the front disc brakes. The hold off / metering valve is used in a disc / drum brake system (like mine) to allow the rear brakes to actuate first. The adjustable proportioning valve provides control of the rate of pressure rise to the rear brakes. Seems complicated , as some engineers figured all this out.
I just puts um where they tells me.. In simple terms, If you push the pedal, you should stop.
It took a little practice learning to do the double flaring needed for the 3/16" steel tubing. I did as Van and Jim instructed me and took my time. Bending the tubing wasn't a problem since i'm an old pipefitter, I've bent a lot of it in the past. Besides, if you make a mistake, you throw that one away and do it over again without telling anyone.
I will mount the metering valve on the front suspension crossover piece tomorow and run the front disc lines.
Thursday, October 6, 2011
Look Ma, No Holes.
Spent the last couple of days welding up all the holes in the firewall. I should have counted them as there were a bunch. Got some of the mudding and sanding done on the firewall today also.
Still have the little patch in the left back bottom corner to do. Maybe tomorrow.
Then it will be back to the brakes and mockup of the steering column.
Still have the little patch in the left back bottom corner to do. Maybe tomorrow.
Then it will be back to the brakes and mockup of the steering column.
Monday, October 3, 2011
Cab blasting done
Working on the brake lines as a side project right now. Need a couple more adaptor fittings for the Master cylinder yet.
Decided that since the weather was so nice this week that I would finish the sandblasting on the cab. While I was working on that this morning, Van Aldershof showed up with a steering column that he got this morning at Mikes Junk yard. It's out of a GMC and has all the tilt, turn signals and ignition in it. There's no key for it so Van will pop the old one out and put in a new one.
After I mock it up in the truck Van will make a nice polished aluminun column drop for it. Should turn out better than what I was expecting to put in. His help is always appreciated.
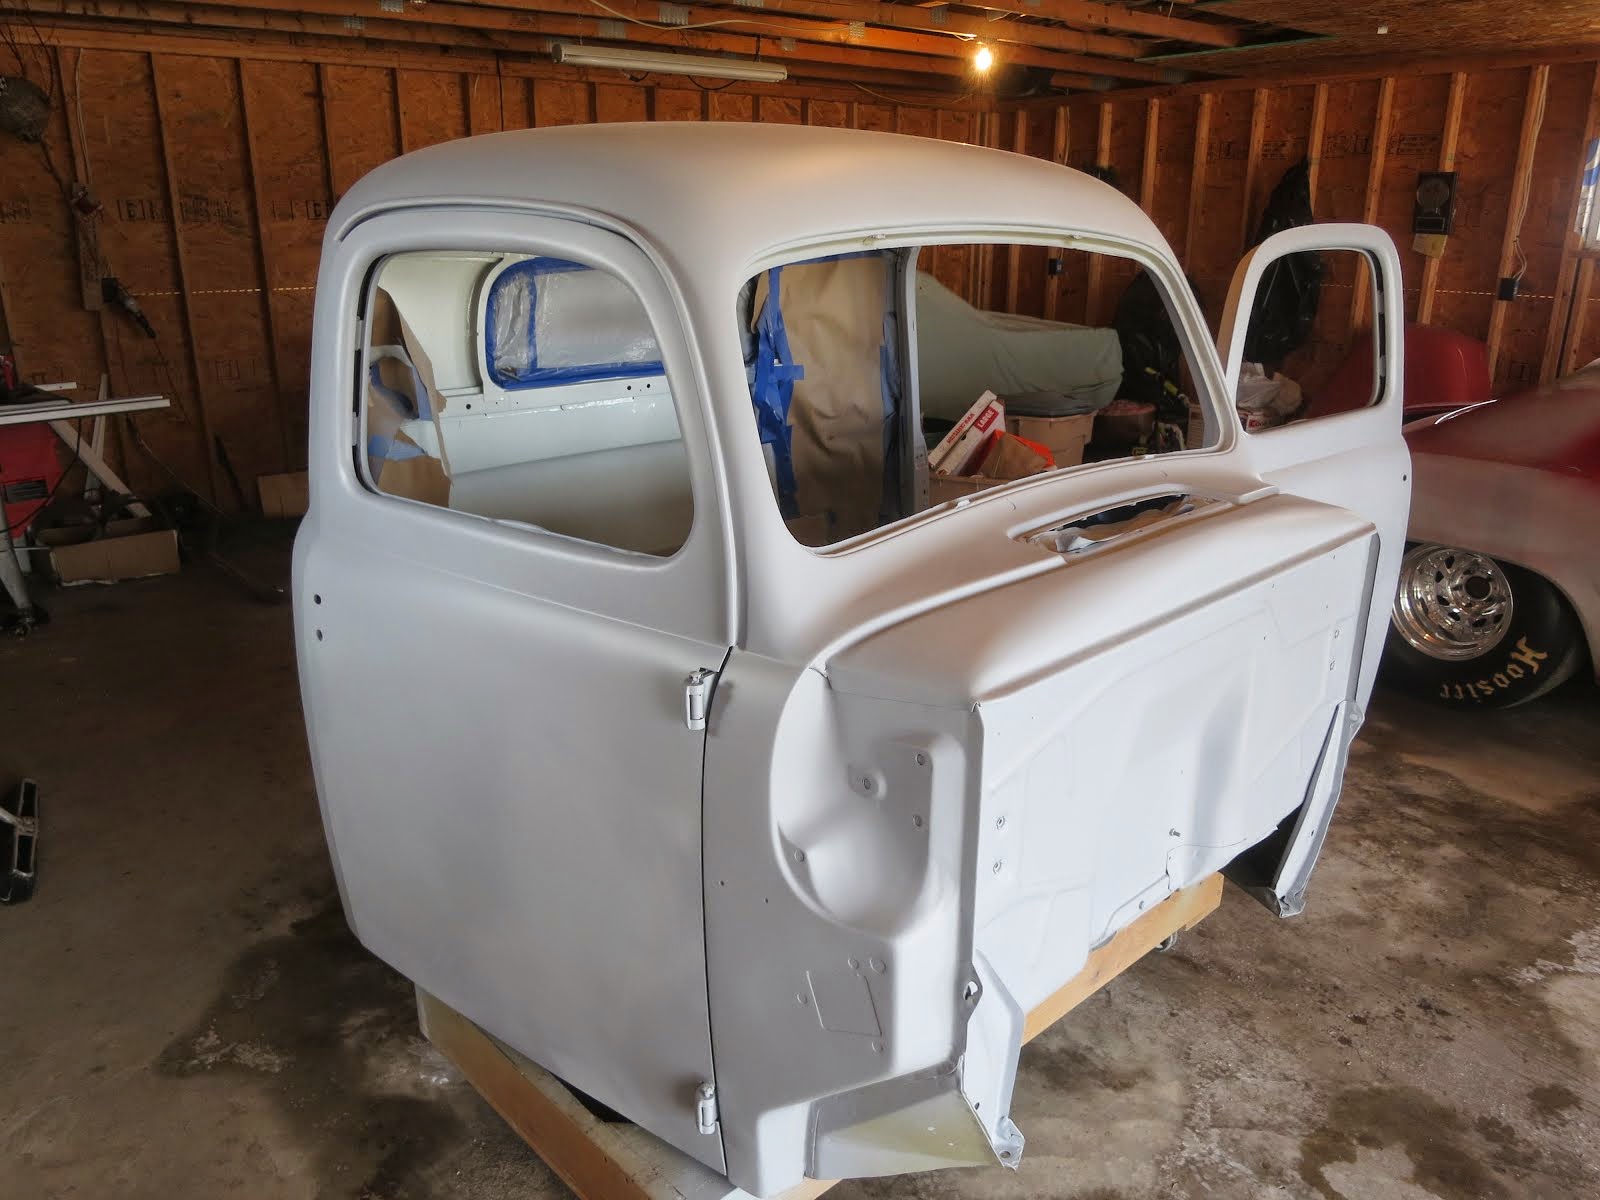
The cab blasting is done so now on with the repairs.I have a small section to weld in on the left rear and some minor dents to pound out. Decided to weld up some of the holes in the firewall to give it a cleaner look. Then the body filler starts.
I'm also going to put the old bench seat back in temporarily to do the mockup on the steering column.
Subscribe to:
Comments (Atom)


