Saturday, April 25, 2015
Back to the Stainless and Chrome
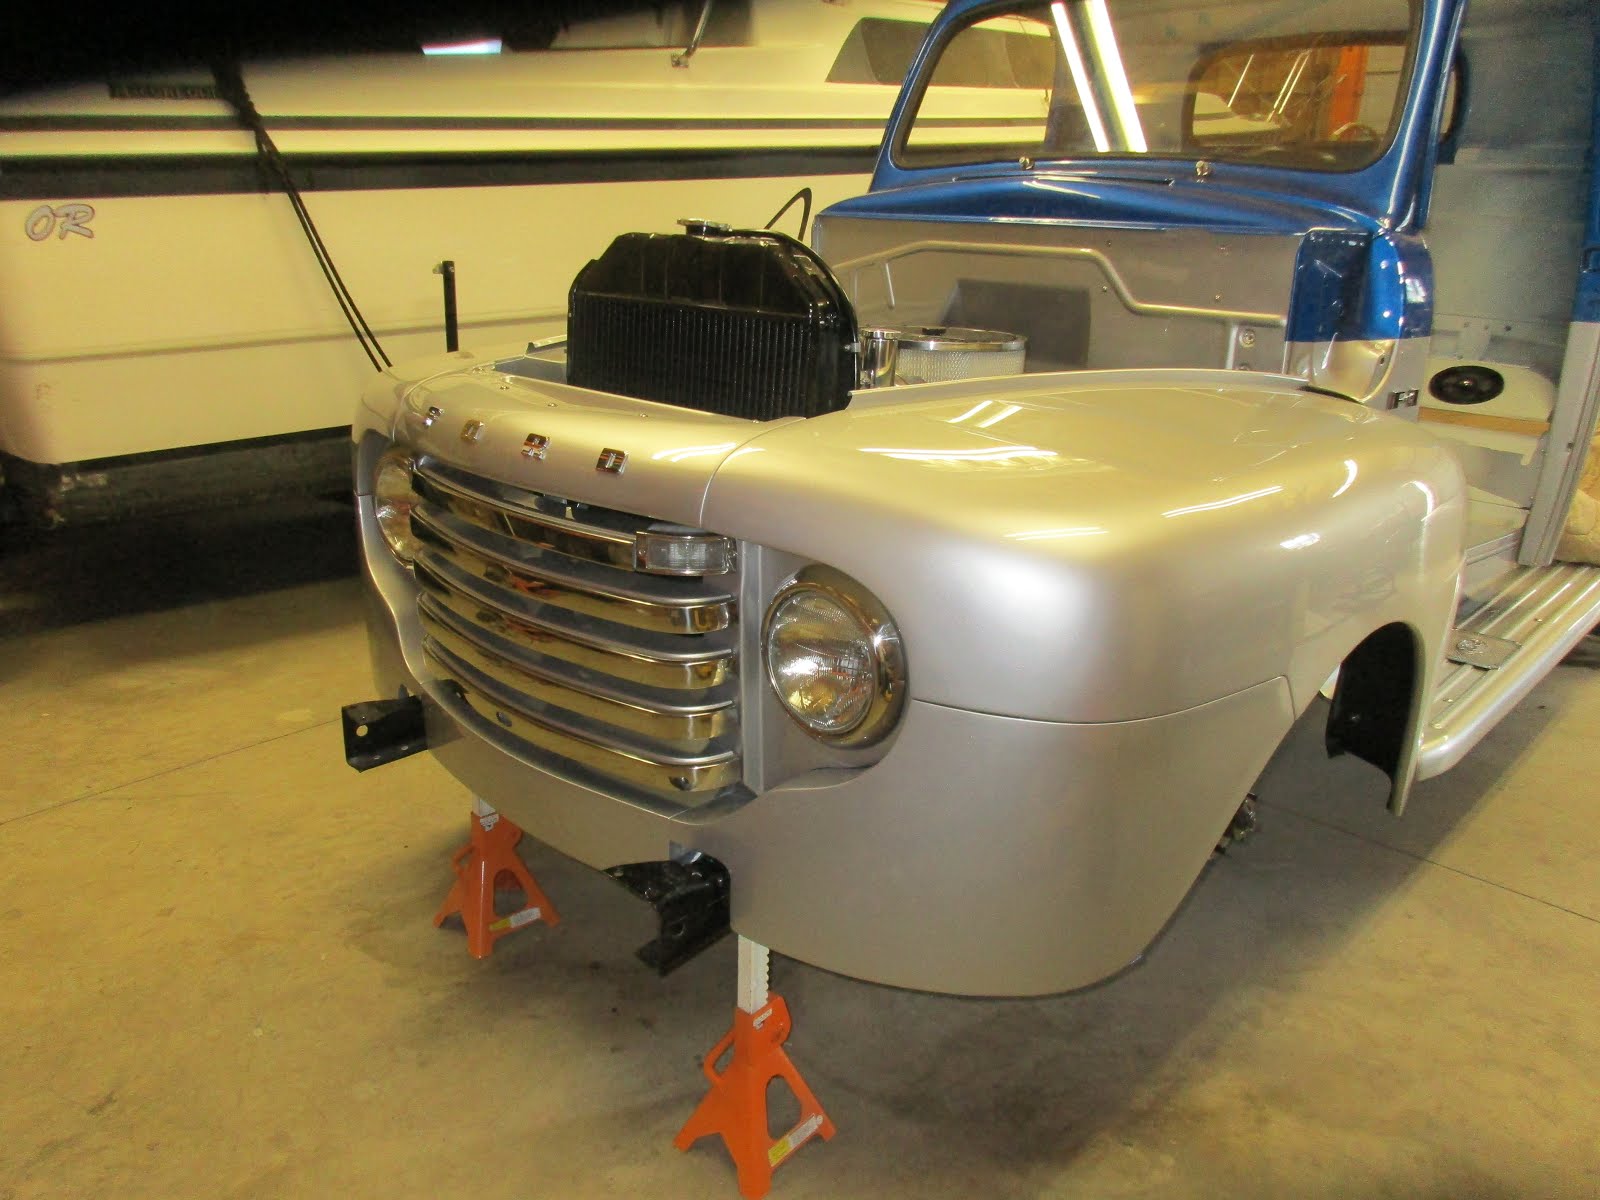
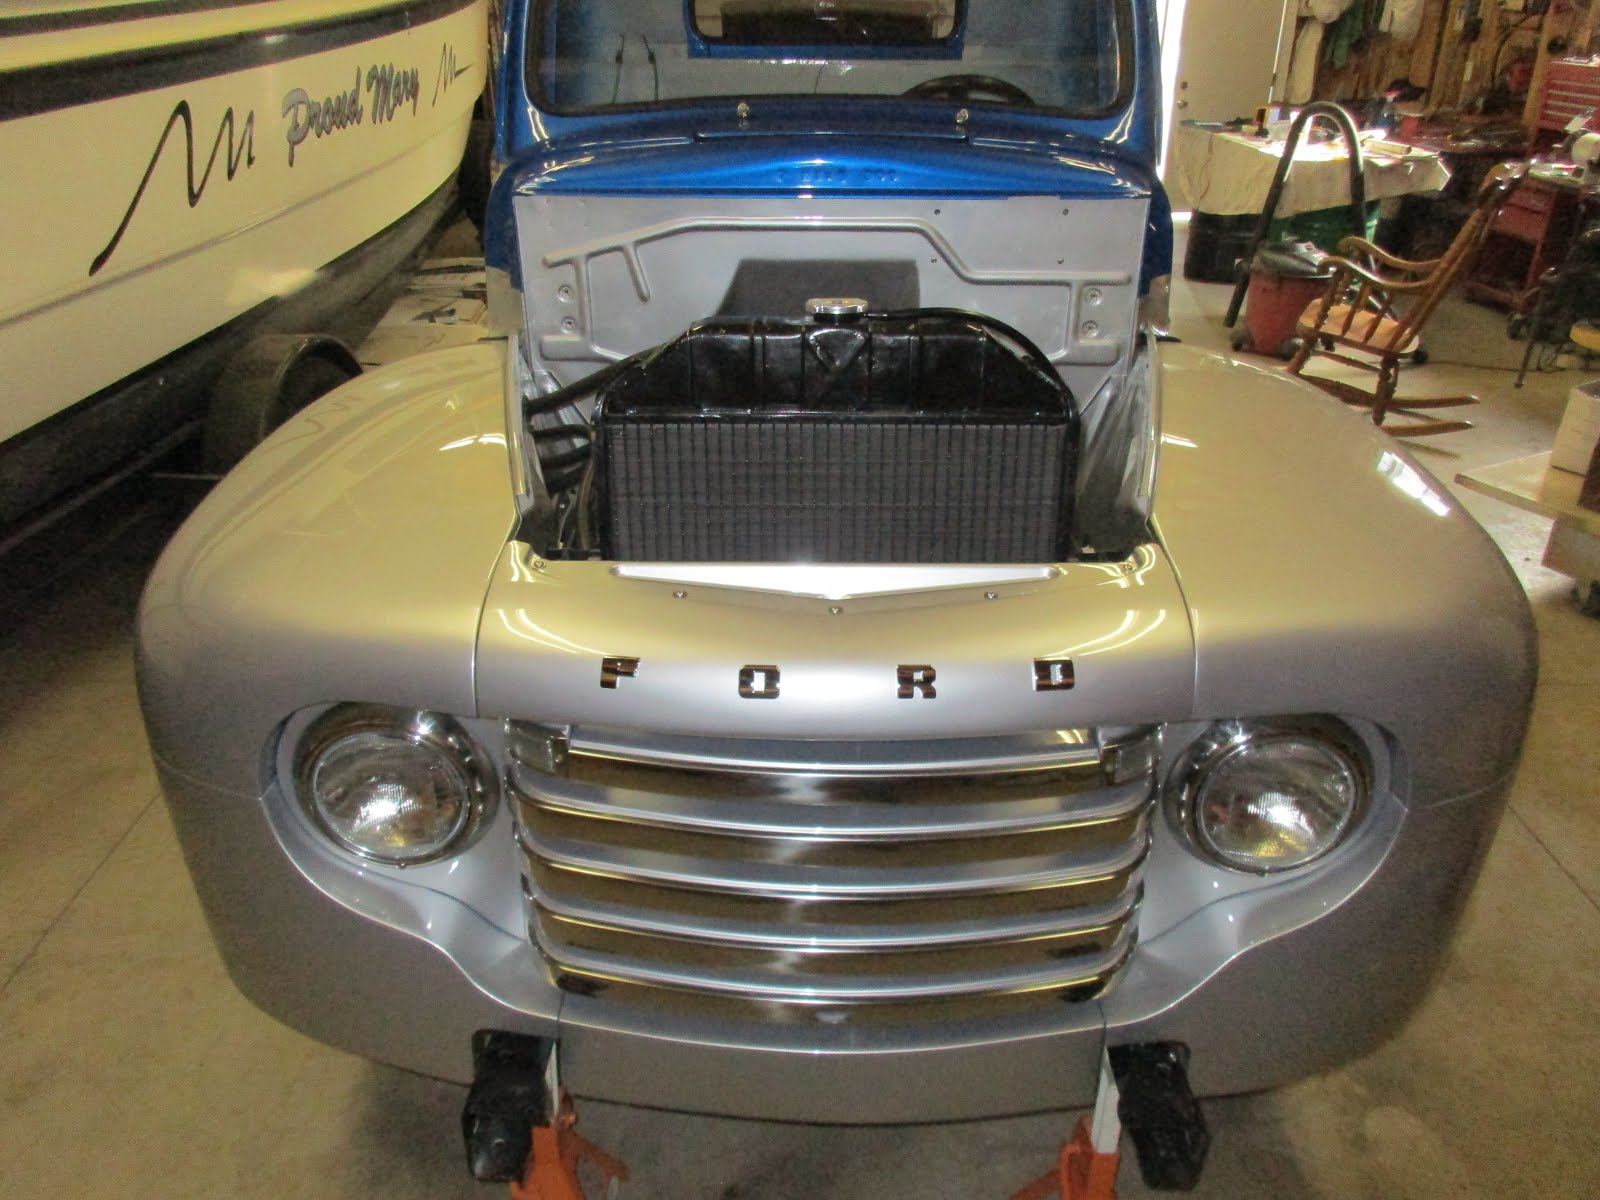
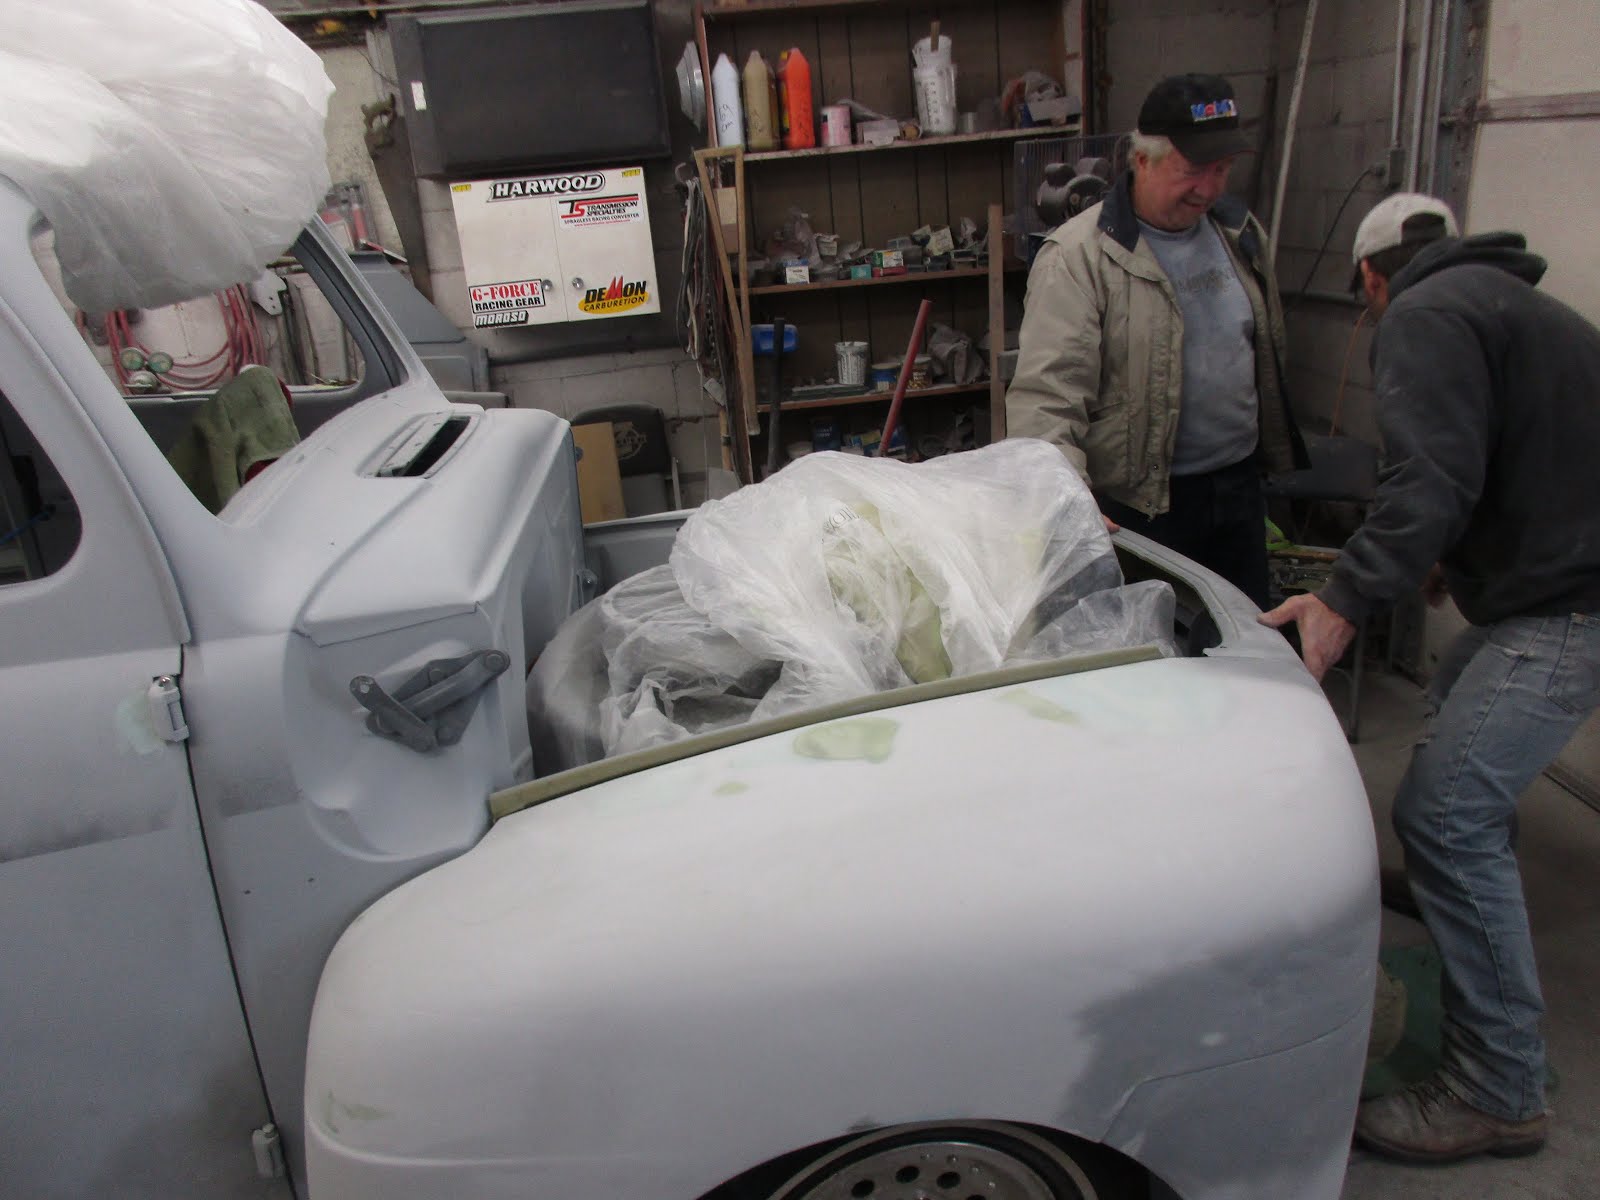
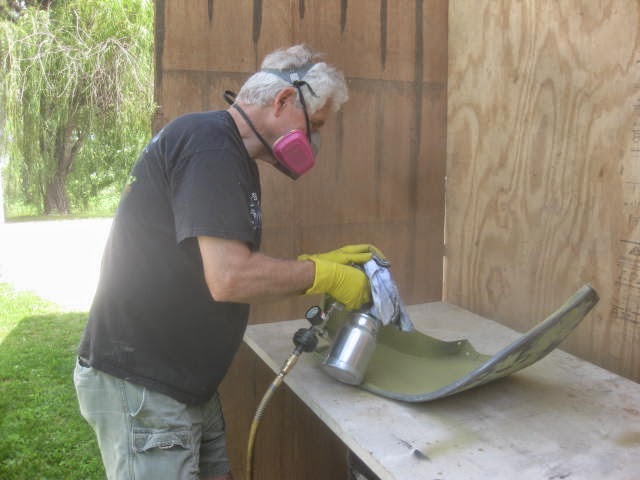
Cold and rainy again today so went back to polishing the stainless steel and chrome for the hood and lights. The handle in the nose that opens the hood is a bit pitted and no one makes a new one. Might have to get that one and the dummy handle on the other side re-chromed. Although you can buy a new one for the dummy side but not the main one. Go figure. I do have to say the handle that opens the hood is a bit more complicated and therefore may be cost prohibitive to make. You can see in the picture that I do have some extra pieces. I will use the best ones and put the others on E-BAY after the truck is done to recoup some of my costs. (A drop in the bucket. Small laughter in the background).
Friday, April 24, 2015
Nutserts or Quick Nuts or Speed Nuts or----
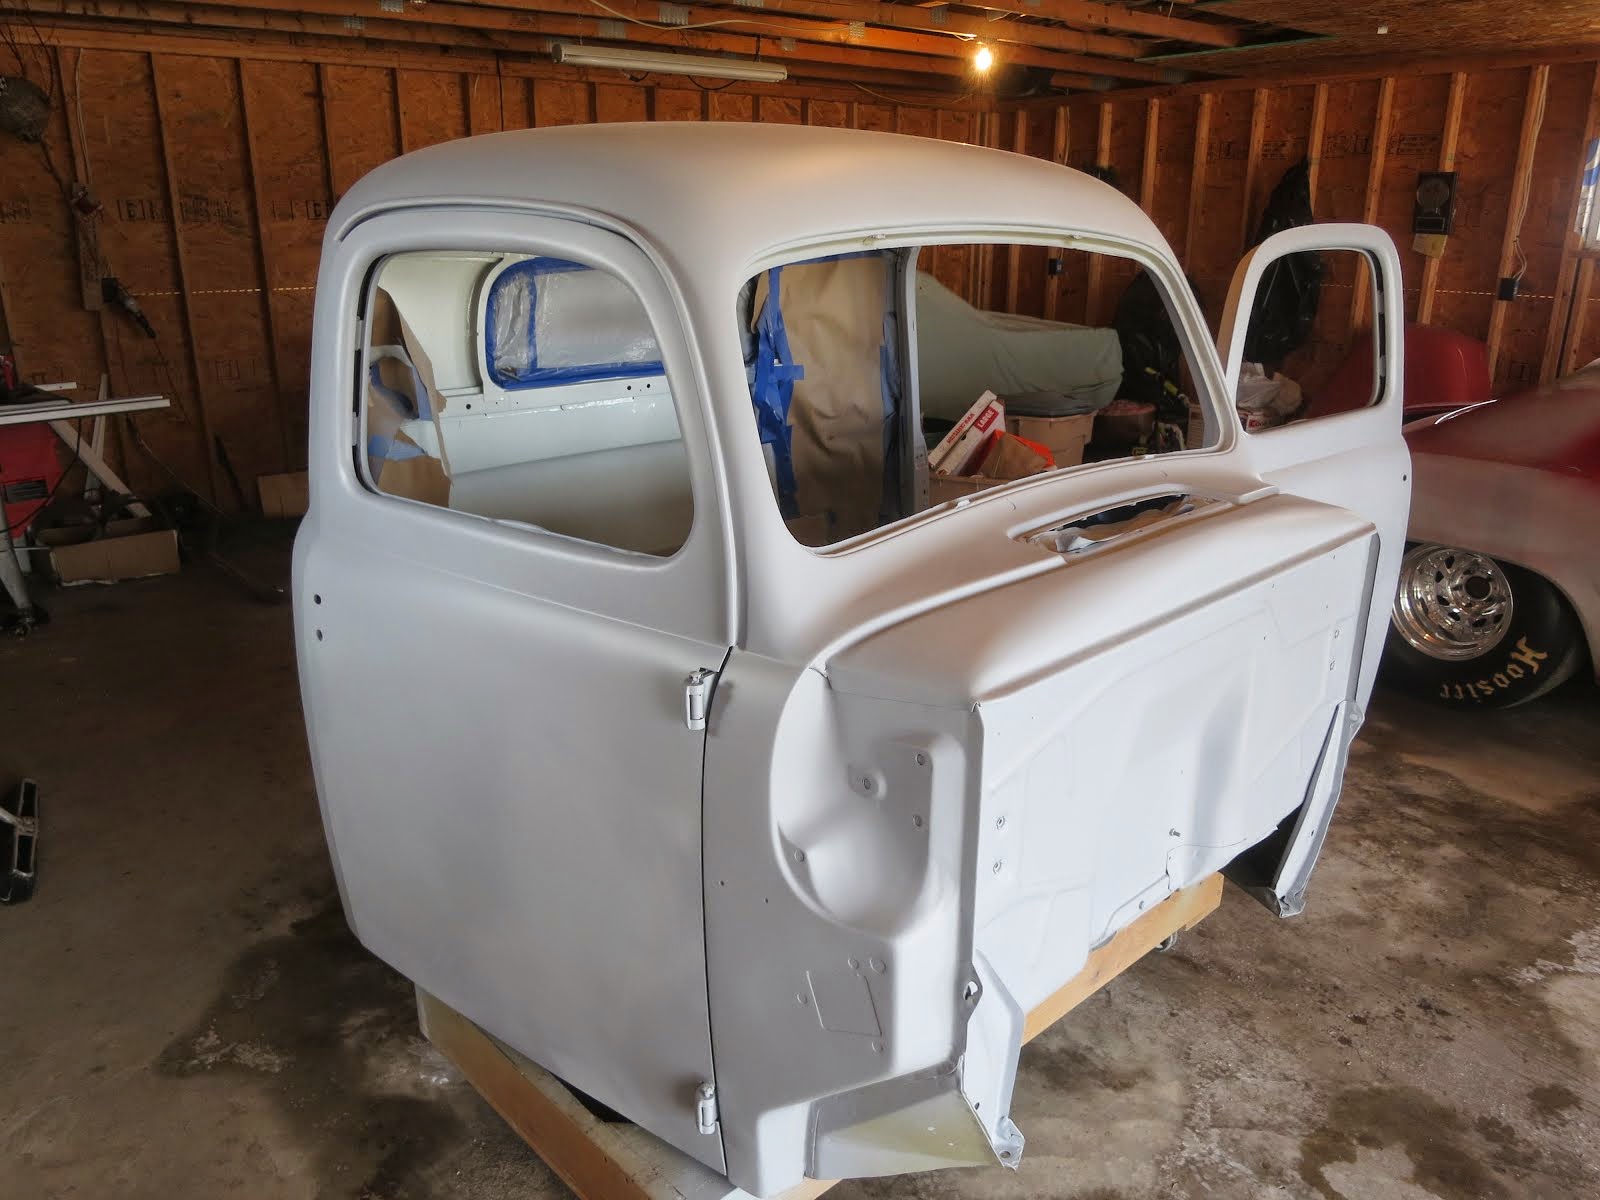
Found the door catches. Had to make some new rubber bumpers for them out of a solid piece of rubber I found in the garage. Put them in temporarily so the doors don't swing all the way open and mare the primed finish.
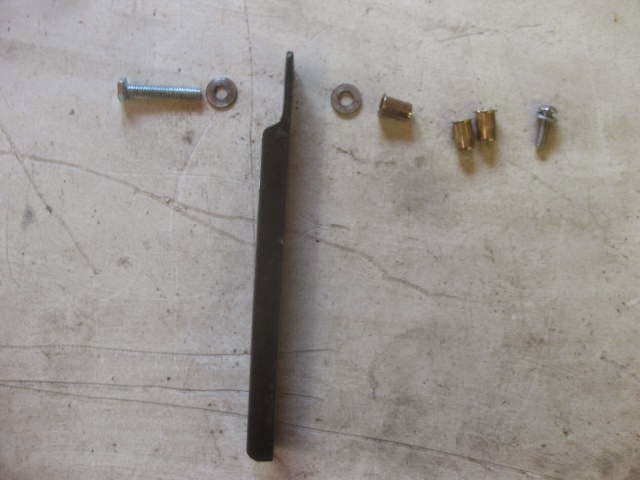
Moving on, I wanted to clean up the back end of the bed by making all the Screw heads the same. I bought some Nutserts from Amazon and later found out Farm King supplies them (They call them Quick Nuts). Also called Speed Nuts. They sell a tool for installing them for about $80 bucks and more. Went on You Tube and found a way to make a tool out of flatbar in about 10 minutes. I used a piece of "C" channel and ground the ears off one end. Then I drilled a 1/4 inch hole in that end for a 1/4 inch bolt. With a couple of washers added, I then used my 3/8 drill to set the Nutserts in the sheetmetal. Quick and easy and seems very strong too. Now all the screws at the back of the bed are 1/4 inch stainless steel button head Allen screws. Should look symmetrical now. No chains hanging off the back.
Moving on, I wanted to clean up the back end of the bed by making all the Screw heads the same. I bought some Nutserts from Amazon and later found out Farm King supplies them (They call them Quick Nuts). Also called Speed Nuts. They sell a tool for installing them for about $80 bucks and more. Went on You Tube and found a way to make a tool out of flatbar in about 10 minutes. I used a piece of "C" channel and ground the ears off one end. Then I drilled a 1/4 inch hole in that end for a 1/4 inch bolt. With a couple of washers added, I then used my 3/8 drill to set the Nutserts in the sheetmetal. Quick and easy and seems very strong too. Now all the screws at the back of the bed are 1/4 inch stainless steel button head Allen screws. Should look symmetrical now. No chains hanging off the back.
Tuesday, April 14, 2015
Roll Pan Finished
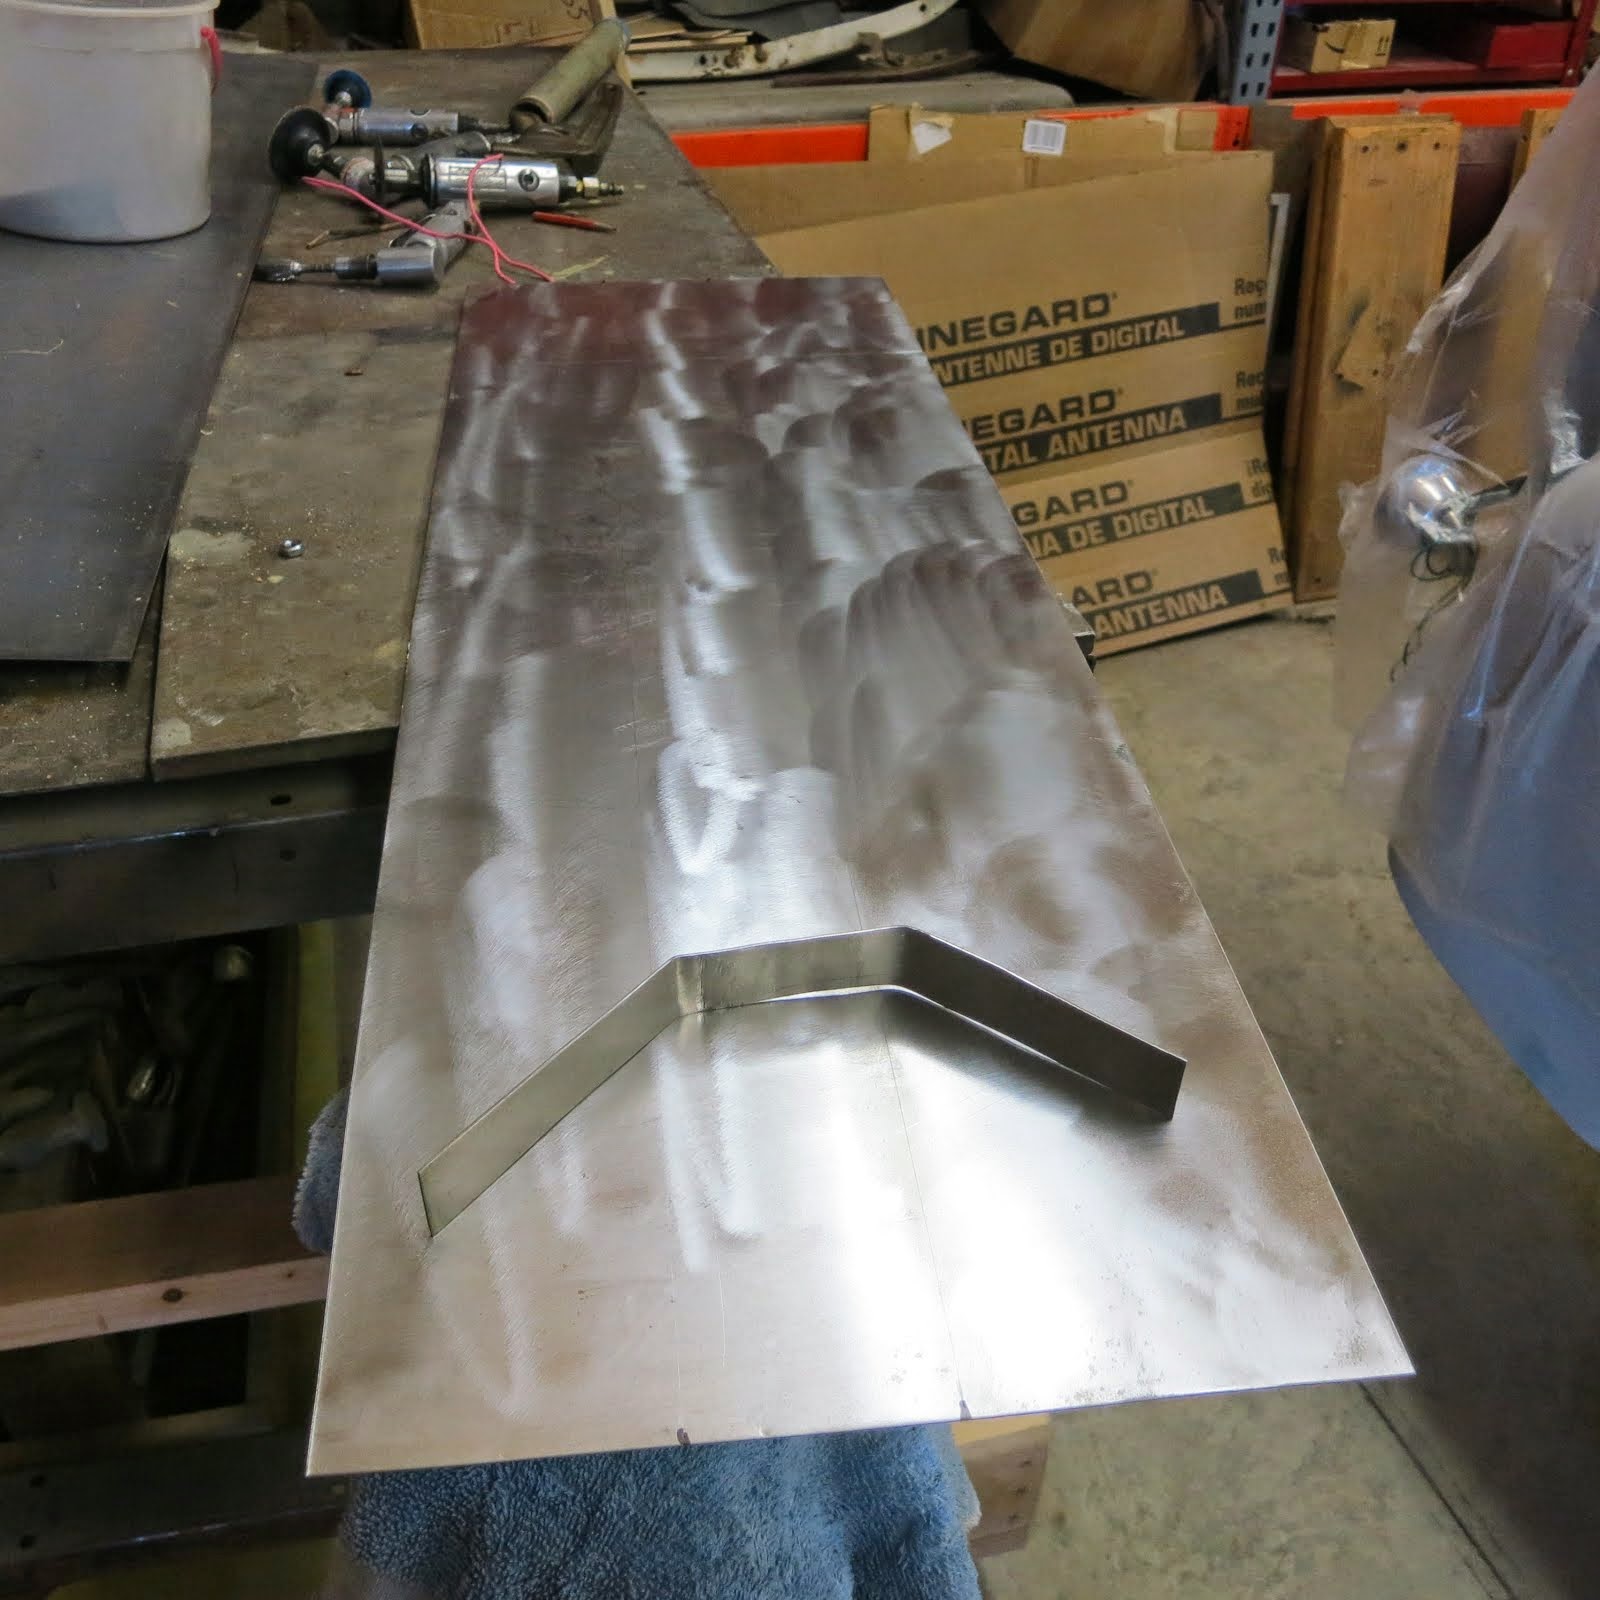
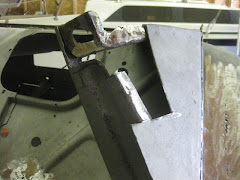
Got the roll pan finished and primed. I like this 3/4 one better than the full flat piece I was going to put on. This covers the hitch and doesn't look as clunky as the full sheet did. The two side pieces I welded on bolt to the upper and lower holes of the bumper bracket, so no added bolts to contend with. It's a little tricky getting in place, just have to know the secret.
Now I'm looking for my door stop brackets. Can't find them. Gotta be here somewhere.
By the way, Spring is here and everything is greening up. My favorite time of the year. Time to get the Harley out for a spin.
Now I'm looking for my door stop brackets. Can't find them. Gotta be here somewhere.
By the way, Spring is here and everything is greening up. My favorite time of the year. Time to get the Harley out for a spin.
Sunday, April 12, 2015
Back from France
Got back from France last Monday and had a great trip. Took Daughter Becky and family Phil and Granddaughter Hannah with us. We were all amazed. Did a Viking trip down the Seine River. Put it on your bucket list.
Back to the F1. Started making a roll pan to cover as much of the trailer hitch as possible.
Cut a sheet of 18 gauge metal and took it to my friend Jim Luther who has a small finger brake. He put a couple of 45 degree bends in it for me. After some head scratching on how to mount it, I came up with using the existing bolts that hold the bumper brackets and bumper on. I still have the left side piece to weld in and see if it will fit. Hope to finish it up today.
More to come.
Subscribe to:
Comments (Atom)


